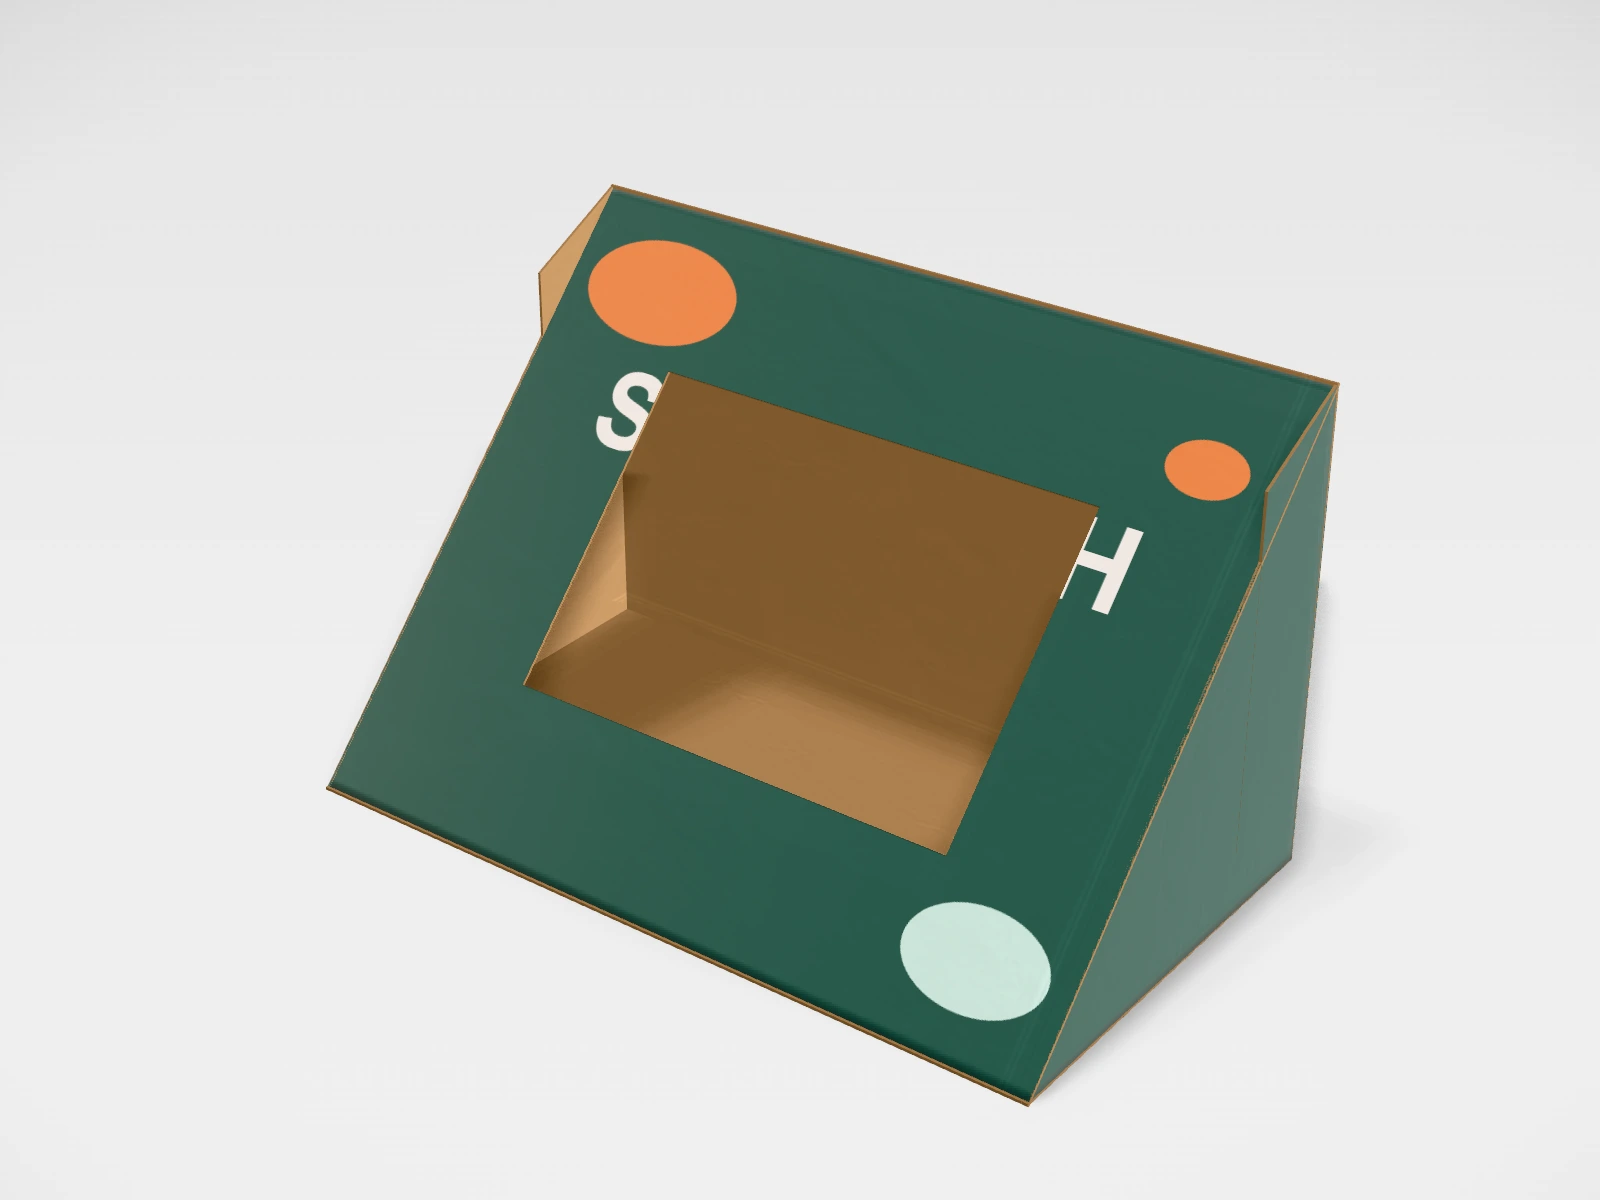
Sandwich wedge mockup and dieline
A sandwich wedge at 125 x 70 x 75 mm in kraft paperboard. Change any size, put your artwork on it, see it in 3D and download a print-ready dieline. Free, in your browser, no account needed.
The flat dieline
What you get
- Structure
- Sandwich wedge
- Starting size
- Length 125 mm, Width 70 mm, Height 75 mm. Every size can be changed.
- Material
- Kraft paperboard
- Downloads
- PDF, SVG and DXF dieline, PNG and JPG mockup images, fold and turntable videos, GLB 3D model
- Good for
- sandwich, wrap, cake slice
- Accuracy
- An approximation of the industry structure: good for concepts and quotes. Have your printer check flaps, glue areas and allowances before production.
Parts of a sandwich wedge
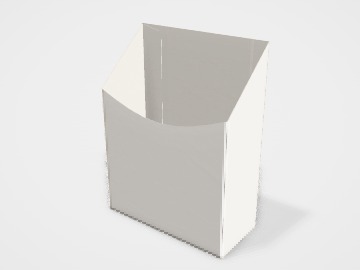
A sandwich wedge is a triangular box: a flat floor, an upright back and a sloping lid with a window. It holds a sandwich cut corner to corner, filling side facing out, so the customer sees what is inside without opening it. It is the standard grab-and-go sandwich pack in cafes and stations, and also works for a slice of cake or a wrap.
- Floor
- The base that the sandwich stands on.
- Back wall
- The upright panel. A good place for the brand and the product name.
- Sloping lid
- The front face with the window. Keep artwork around the window, not across it.
- Triangular ends
- Close the two sides; one end often carries a label with the filling and date.
- Window
- A cut-out covered with clear film. The studio offers a rectangle, an oval or no window.
How to size it
- Cut your bread in half diagonally and measure the long edge. That sets the length (L).
- Measure the short side of the triangle; that sets the floor depth (W) and the back height (H).
- Measure the thickness of a full sandwich and check two halves fit back to back. Add 5 mm for easy loading.
- Pick the window shape and keep at least 10 mm of board around it so the lid stays stiff.
Materials and finishes
- Food-grade kraft paperboard, coated inside
- The usual cafe look. Pairs well with a single colour print.
- Food-grade white paperboard, coated
- Brighter print and a cleaner look for branded ranges.
Finishes
- Clear window film
- Usually PET or a compostable film. The studio does not model the film; your supplier fits it.
Mistakes to avoid
- A wedge sized to sliced bread from a different brand: bread sizes vary, so measure the loaf you actually use.
- Artwork that runs into the window. Leave a clear margin around the cut.
- Printing fixed details like dates or fillings into the artwork. Use a sticker so one box works for every sandwich.
How to make it in the studio
- Open it. Press Customise this sandwich wedge. It opens in the 3D studio at 125 x 70 x 75 mm.
- Set the size. In the Size panel, choose whether you are entering the Inside or Outside size, then type your measurements. The other one is shown underneath.
- Add your design. In the Design panel, upload your logo or artwork: it goes on the front first. Pick other faces to add colours, text or images to each.
- Check it in 3D. Turn the pack around, and use the Flat to Closed slider to watch it fold. Switch to the Dieline view to see the artwork on the dieline.
- Download. The Download panel gives you the PDF dieline to send your printer first, then mockup images for your store or social posts.
- Get it made. If you want a quote, send the design to packitmama from the Download panel, and we will reply personally.
Questions
Where do the ingredients and date go?
Most cafes use a sticker on an end panel. Check the current FSSAI labelling rules for what pre-packed food must show.
Can I remove the window?
Yes. Set Window to No window and the whole lid becomes a print area.