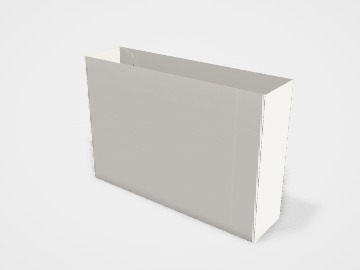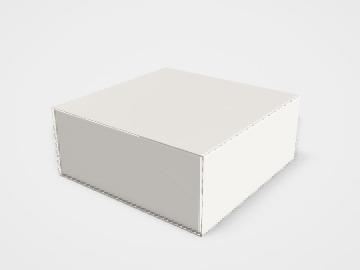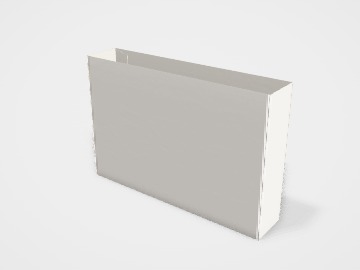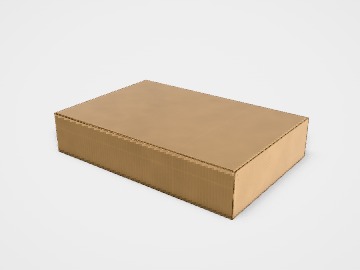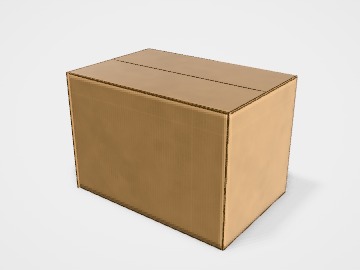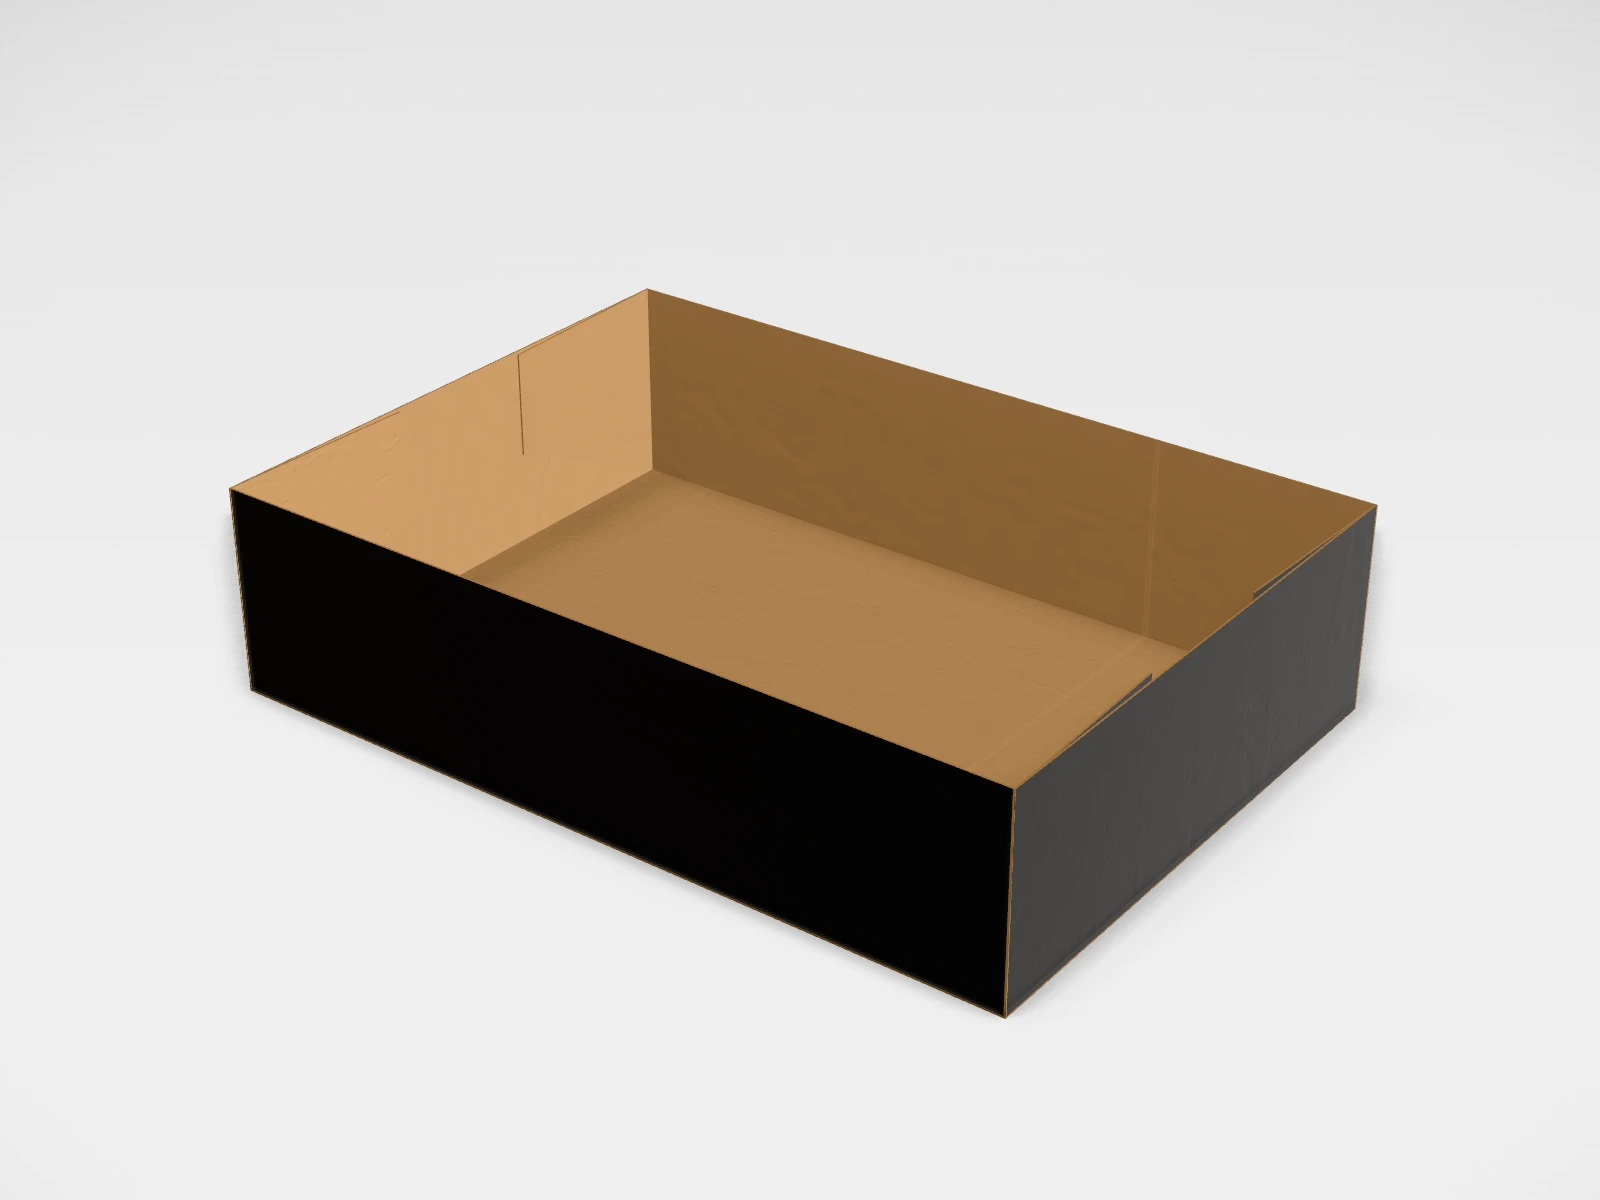
Display tray mockup and dieline
A open display tray at 200 x 140 x 50 mm in kraft paperboard. Change any size, put your artwork on it, see it in 3D and download a print-ready dieline. Free, in your browser, no account needed.
The flat dieline
What you get
- Structure
- Open display tray
- Starting size
- Length 200 mm, Width 140 mm, Height 50 mm. Every size can be changed.
- Material
- Kraft paperboard
- Downloads
- PDF, SVG and DXF dieline, PNG and JPG mockup images, fold and turntable videos, GLB 3D model
- Good for
- counter display
- Accuracy
- Geometry checked by automated tests.
Parts of a open display tray
An open display tray is a shallow box with no lid: a floor and four walls, held square by corner ears glued inside the side walls. It is used on shop counters to hold small products upright and visible, as a tray inside a gift box, or as the base of a tray-and-sleeve pack. Shops and brands use counter trays for impulse items near the till: small snacks, sachets, lip balms and similar products.
- Floor
- The base that carries the products.
- Front wall
- Faces the shopper. It is often lower or carries the brand name.
- Back and side walls
- Hold the products in place. The inside of the back wall is visible and can carry artwork.
- Corner ears
- Small flaps on the end of the long walls that fold round the corner and are glued inside the side walls.
How to size it
- Decide how many units the tray holds and in what layout, for example 3 rows of 4.
- Measure one unit and multiply out the layout. Add 2 to 3 mm per row so products lift out easily.
- Enter those as Inside sizes in the studio; the outside size is shown under the fields.
- Keep wall height to about a third or half of the product height, so the products stay visible.
Materials and finishes
- Kraft or white paperboard, 300 to 400 gsm
- Light products and inner trays.
- E-flute corrugated (about 1.5 mm)
- Counter trays for heavier products or trays that are restocked often.
- B-flute corrugated (about 3 mm)
- Large or heavy trays, such as shelf-ready trays for bottles or tins.
Finishes
- Print inside and out
- Both sides of the walls are visible on an open tray. Plan artwork for both.
- Varnish
- Basic scuff protection for trays that sit on a counter for weeks.
Mistakes to avoid
- Walls too high, hiding the products they are meant to show.
- Forgetting the inside faces are visible. A tray printed only on the outside looks unfinished on the counter.
- Board too light for the load. A full tray of jars or bottles needs corrugated, not paperboard.
How to make it in the studio
- Open it. Press Customise this display tray. It opens in the 3D studio at 200 x 140 x 50 mm.
- Set the size. In the Size panel, choose whether you are entering the Inside or Outside size, then type your measurements. The other one is shown underneath.
- Add your design. In the Design panel, upload your logo or artwork: it goes on the front first. Pick other faces to add colours, text or images to each.
- Check it in 3D. Turn the pack around, and use the Flat to Closed slider to watch it fold. Switch to the Dieline view to see the artwork on the dieline.
- Download. The Download panel gives you the PDF dieline to send your printer first, then mockup images for your store or social posts.
- Get it made. If you want a quote, send the design to packitmama from the Download panel, and we will reply personally.
Questions
Can I add a header card?
Not on this template. Many counter displays add a separate printed header card glued to the back wall; mention it in your brief.
Can I use it with a sleeve?
Yes. Size the sleeve to the outside of the tray; see the Box sleeve template.