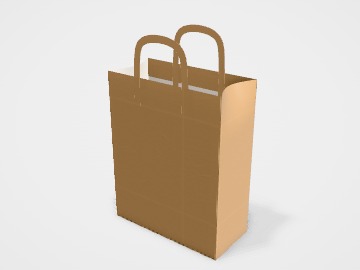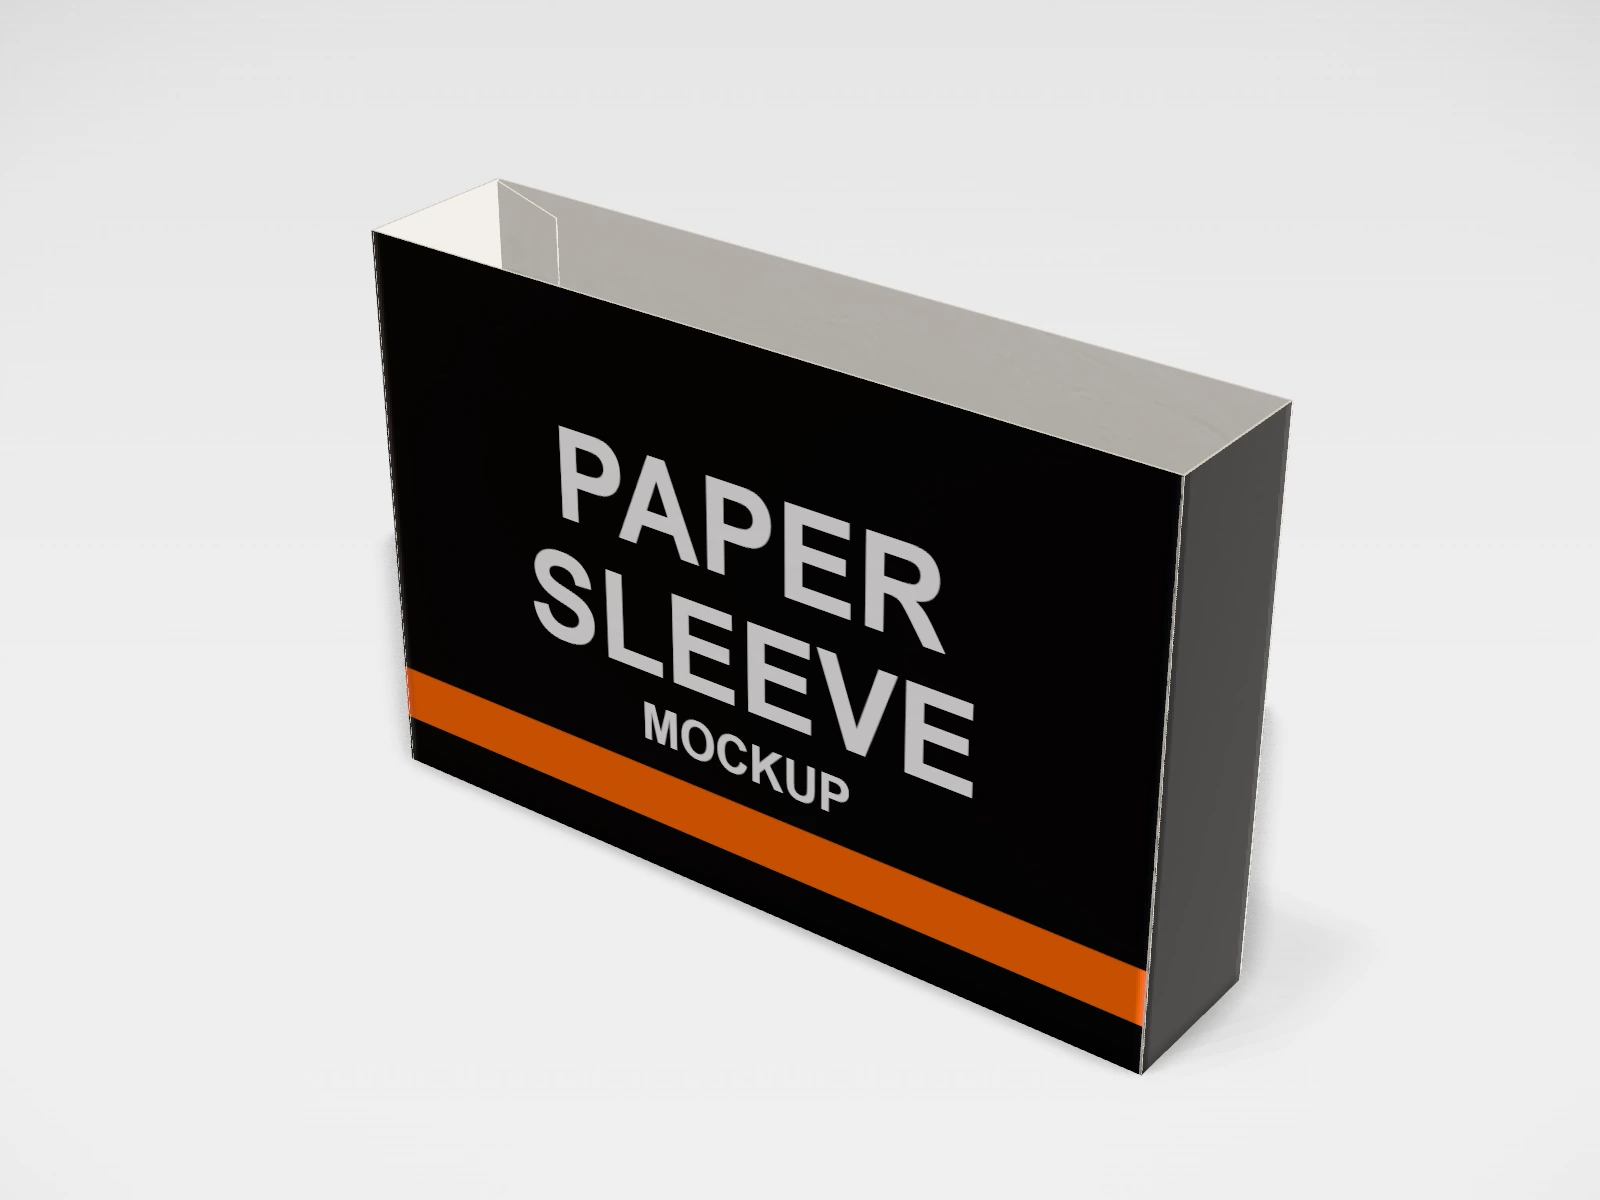
Paper sleeve mockup and dieline
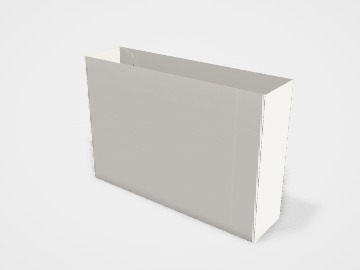
A box sleeve at 150 x 30 x 100 mm in white paperboard. Change any size, put your artwork on it, see it in 3D and download a print-ready dieline. Free, in your browser, no account needed.
The flat dieline
What you get
- Structure
- Box sleeve
- Starting size
- Length 150 mm, Width 30 mm, Height 100 mm. Every size can be changed.
- Material
- White paperboard
- Downloads
- PDF, SVG and DXF dieline, PNG and JPG mockup images, fold and turntable videos, GLB 3D model
- Good for
- belly band, wrap
- Accuracy
- Geometry checked by automated tests.
Parts of a box sleeve
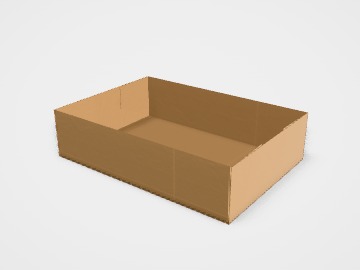
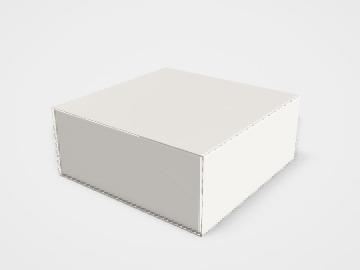
A box sleeve, also called a belly band or wrap, is a printed tube open at both ends that slides over a tray, a box or the product itself. It lets you keep one plain box and change the sleeve for each product, flavour or festival, so it is a common way to brand stock packaging cheaply. With a tray inside, it also makes a simple two-part gift pack.
- Front panel
- The main display face, often with the product name.
- Back panel
- Details, barcode or a message.
- Side panels
- The narrow faces. On a thin band these may be very small.
- Glue flap
- Joins the sleeve into a tube.
How to size it
- Measure the outside of the box or tray the sleeve goes over: length, width, height.
- Add about 1 mm to each so it slides on without tearing. Coated board grips more than plain.
- Enter those as Inside sizes in the studio. Length and width wrap around; height is the band depth.
- For a belly band, the height can be much smaller than the box, just enough for a name or label.
Materials and finishes
- White paperboard, 250 to 350 gsm
- Full-colour sleeves for trays and gift boxes.
- Kraft board
- Natural-look bands for soap, food and handmade goods.
- Thick paper, 150 to 250 gsm
- Thin belly bands that simply wrap and label.
Finishes
- Matte lamination
- Protects the sleeve from scuffs as it slides on and off.
- Foil stamping
- A premium label on a plain base box.
Mistakes to avoid
- Measuring the product instead of the box it wraps. The sleeve goes over the outside of the tray or box.
- A sleeve that is too tight and tears, or so loose it slides off. Test with one printed sample.
- Text running across the folded edges, where the print cracks. Keep it on the flat panels.
How to make it in the studio
- Open it. Press Customise this paper sleeve. It opens in the 3D studio at 150 x 30 x 100 mm.
- Set the size. In the Size panel, choose whether you are entering the Inside or Outside size, then type your measurements. The other one is shown underneath.
- Add your design. In the Design panel, upload your logo or artwork: it goes on the front first. Pick other faces to add colours, text or images to each.
- Check it in 3D. Turn the pack around, and use the Flat to Closed slider to watch it fold. Switch to the Dieline view to see the artwork on the dieline.
- Download. The Download panel gives you the PDF dieline to send your printer first, then mockup images for your store or social posts.
- Get it made. If you want a quote, send the design to packitmama from the Download panel, and we will reply personally.
Questions
Why use a sleeve instead of a printed box?
A sleeve lets you stock one plain box and print short runs of sleeves for each product or season.
Can I print on the inside?
The inside is usually hidden. Print it only if the sleeve slides off to reveal something.