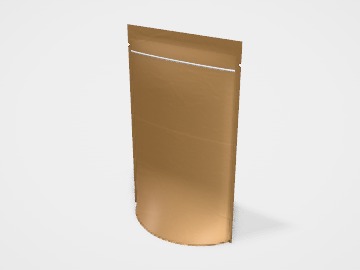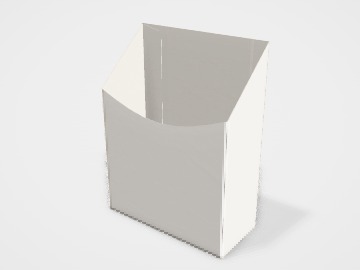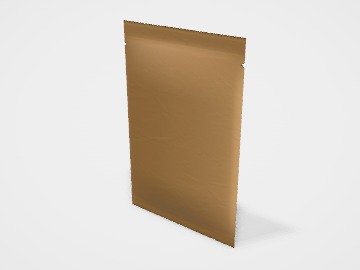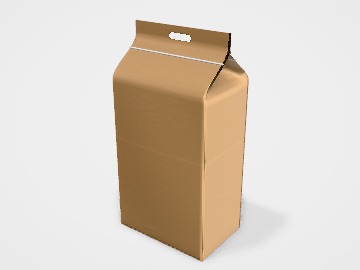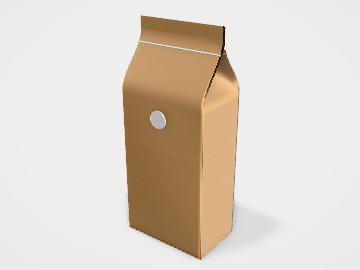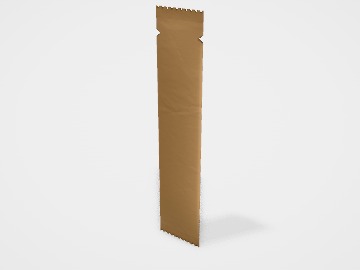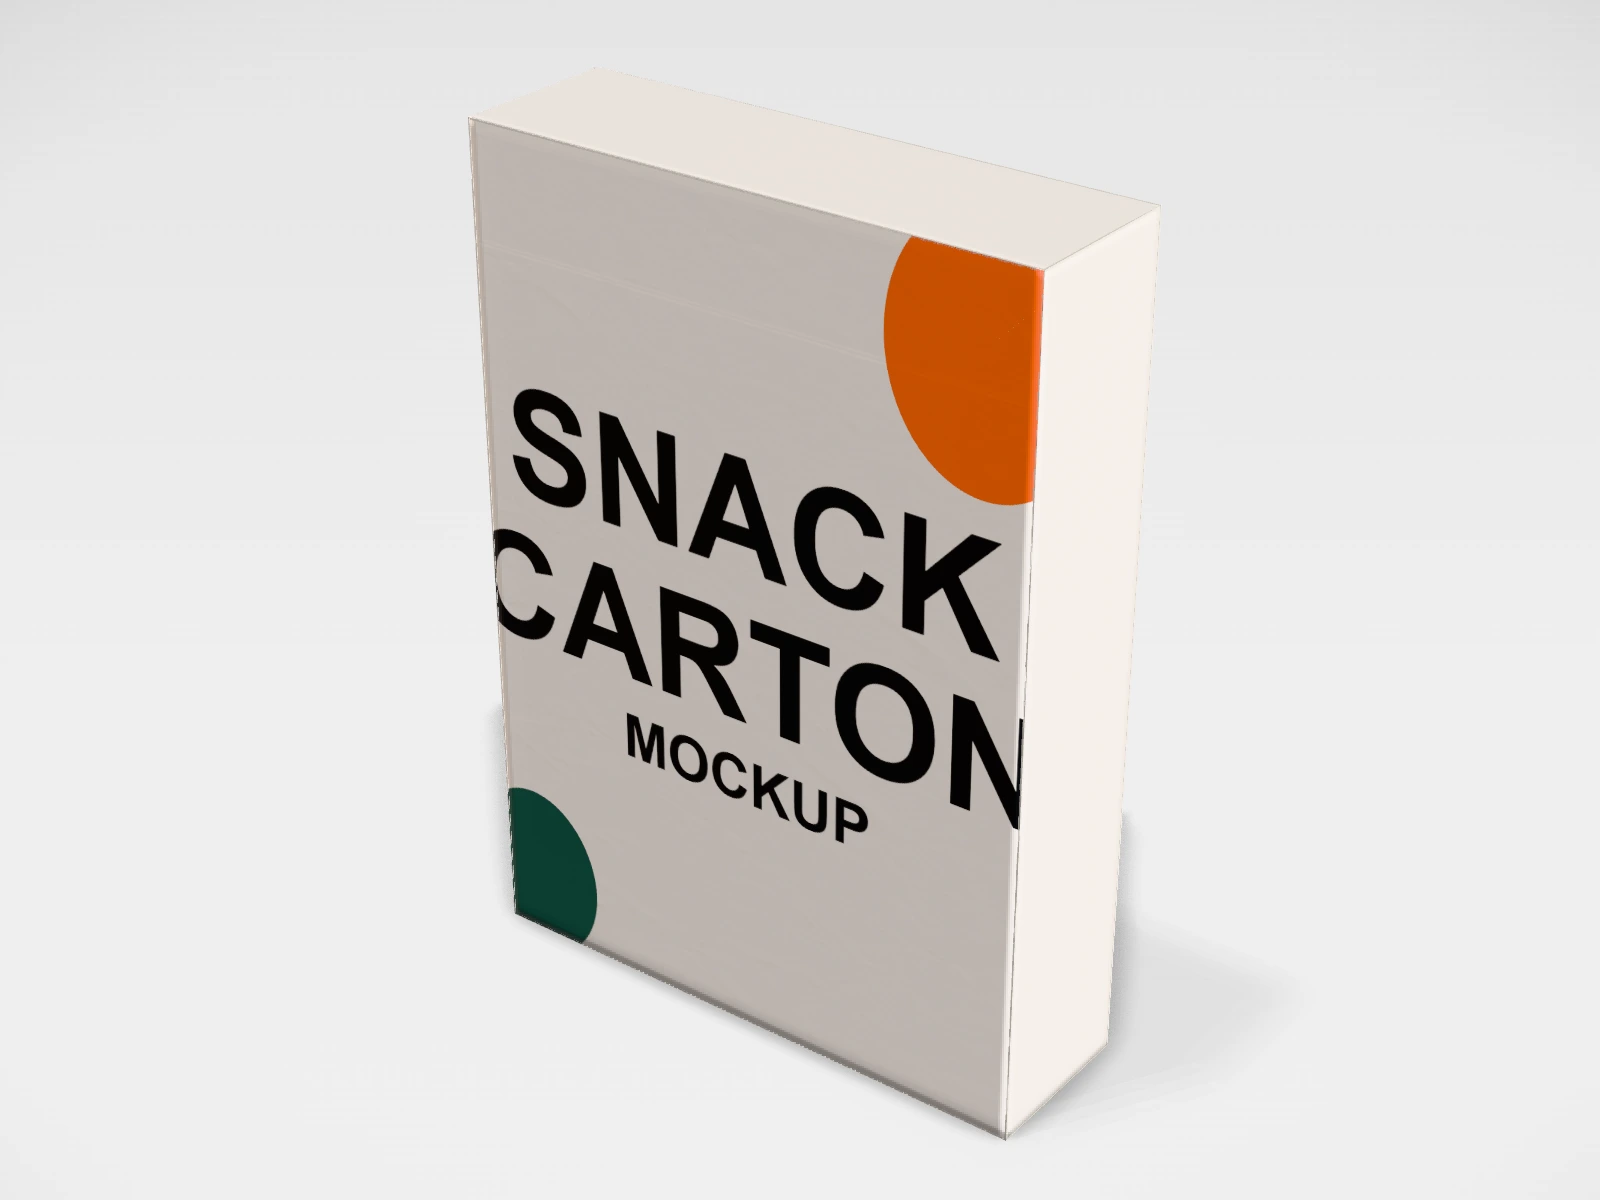
Snack carton mockup and dieline
A reverse tuck end box at 120 x 35 x 170 mm in white paperboard. Change any size, put your artwork on it, see it in 3D and download a print-ready dieline. Free, in your browser, no account needed.
The flat dieline
What you get
- Structure
- Reverse tuck end box
- Starting size
- Length 120 mm, Width 35 mm, Height 170 mm. Every size can be changed.
- Material
- White paperboard
- Downloads
- PDF, SVG and DXF dieline, PNG and JPG mockup images, fold and turntable videos, GLB 3D model
- Good for
- crackers, biscuits
- Accuracy
- Geometry checked by automated tests.
Parts of a reverse tuck end box
A reverse tuck end box is the everyday retail carton: one sheet of paperboard, glued down one side, with a tuck flap at each end. The top tuck hinges from the back panel and the bottom tuck from the front, so the two flaps fold in opposite directions. It ships flat, folds up by hand in seconds and suits light products such as cosmetics, serums, medicines and small gifts. Most of the cartons on a pharmacy or beauty shelf are this style.
- Front and back panels
- The two wide faces. The front is what the shopper sees first, so it carries the main artwork.
- Side panels
- The two narrow faces. Good for ingredients, barcodes and other details.
- Glue flap
- A narrow strip on one side panel that is glued to the inside of the opposite edge. The printer glues it, so the box arrives flat but already joined.
- Tuck flaps
- The closing flaps at top and bottom. The tongue slides inside the box and a small slit or shoulder holds it by friction.
- Dust flaps
- Small flaps on the side panels that fold in under each tuck flap and stop the ends from caving in.
How to size it
- Measure the product, or the bottle with its cap or dropper, at its widest points: length, width, height.
- Add 1 to 2 mm to length and width, and 2 to 3 mm to height, so it slides in without catching. Add more if there is an insert.
- Enter those as Inside sizes in the studio. The outside size, which adds the board thickness, is shown under the fields.
- Height is measured along the glue line, between the two tucks. Length is the front panel width and width is the side panel.
| For | Size (L x W x H) |
|---|---|
| Lipstick or lip balm | 25 x 25 x 85 mm |
| Serum or dropper bottle (30 ml) | 40 x 40 x 110 mm |
| Cream jar | 70 x 70 x 60 mm |
| Tablet strips | 110 x 35 x 65 mm |
Materials and finishes
- Duplex board, 250 to 350 gsm
- The most common carton board in India. White printing side, grey or white back. Good value for everyday retail.
- FBB or SBS board, 250 to 400 gsm
- Cleaner white on both sides and crisper folds. Use it for premium cosmetics or when the inside is visible.
- Kraft board
- A natural brown look for handmade and eco-leaning brands. Colours print darker than on white board.
Finishes
- Aqueous or UV varnish
- A light protective coat. Cheaper than lamination and enough for most shelf cartons.
- Matte or gloss lamination
- Better scuff resistance for cartons that are handled a lot or shipped loose.
- Foil stamping and spot UV
- A metallic logo or a glossy highlight on a matte box. Keep fine details larger than about 0.3 mm.
Mistakes to avoid
- Mixing up length and width, so the front artwork lands on the narrow side. Check the 3D view with your artwork on before you download.
- Varnish or lamination over the glue flap: glue does not hold well on a coated surface. Ask the printer to keep the glue area clear.
- Text and logos running right to the edge of a panel. Keep important content 3 to 5 mm inside every crease and cut line.
- No bleed: background colour must run about 3 mm past the cut line, or thin white edges show after cutting.
- A box too tight for the product: a few tenths of a millimetre of board thickness on each wall add up, and the product jams.
How to make it in the studio
- Open it. Press Customise this snack carton. It opens in the 3D studio at 120 x 35 x 170 mm.
- Set the size. In the Size panel, choose whether you are entering the Inside or Outside size, then type your measurements. The other one is shown underneath.
- Add your design. In the Design panel, upload your logo or artwork: it goes on the front first. Pick other faces to add colours, text or images to each.
- Check it in 3D. Turn the pack around, and use the Flat to Closed slider to watch it fold. Switch to the Dieline view to see the artwork on the dieline.
- Download. The Download panel gives you the PDF dieline to send your printer first, then mockup images for your store or social posts.
- Get it made. If you want a quote, send the design to packitmama from the Download panel, and we will reply personally.
Questions
Reverse tuck or straight tuck: which should I use?
Reverse tuck is the usual choice for light retail cartons. Straight tuck keeps both tucks on the back, so the front prints edge to edge, which suits a window or a full-face design.
Can I add a window?
Yes. In the studio, the Window option cuts a rectangle, oval or arch into the front panel. Printers usually patch it with clear film.
Is the dieline ready for production?
It is a concept dieline drawn to common carton proportions. Download it as PDF, SVG or DXF and ask your printer to check tuck depth and glue flap width for their board.