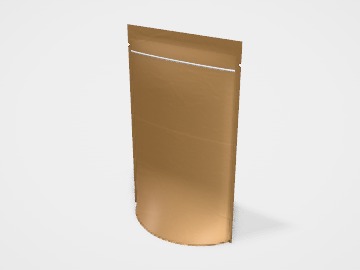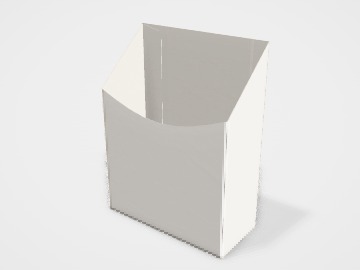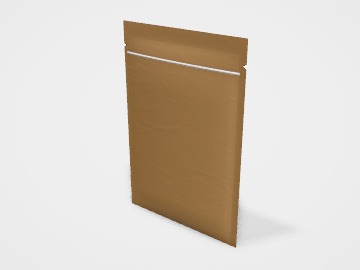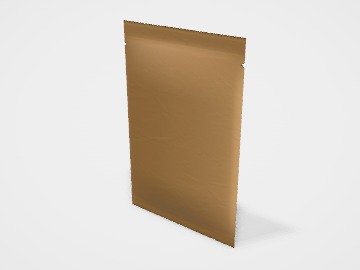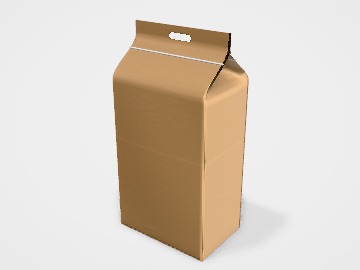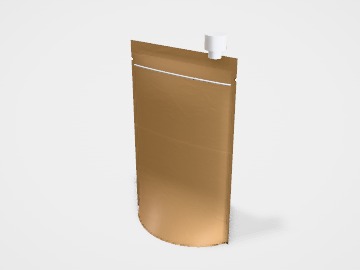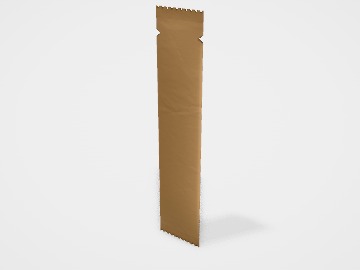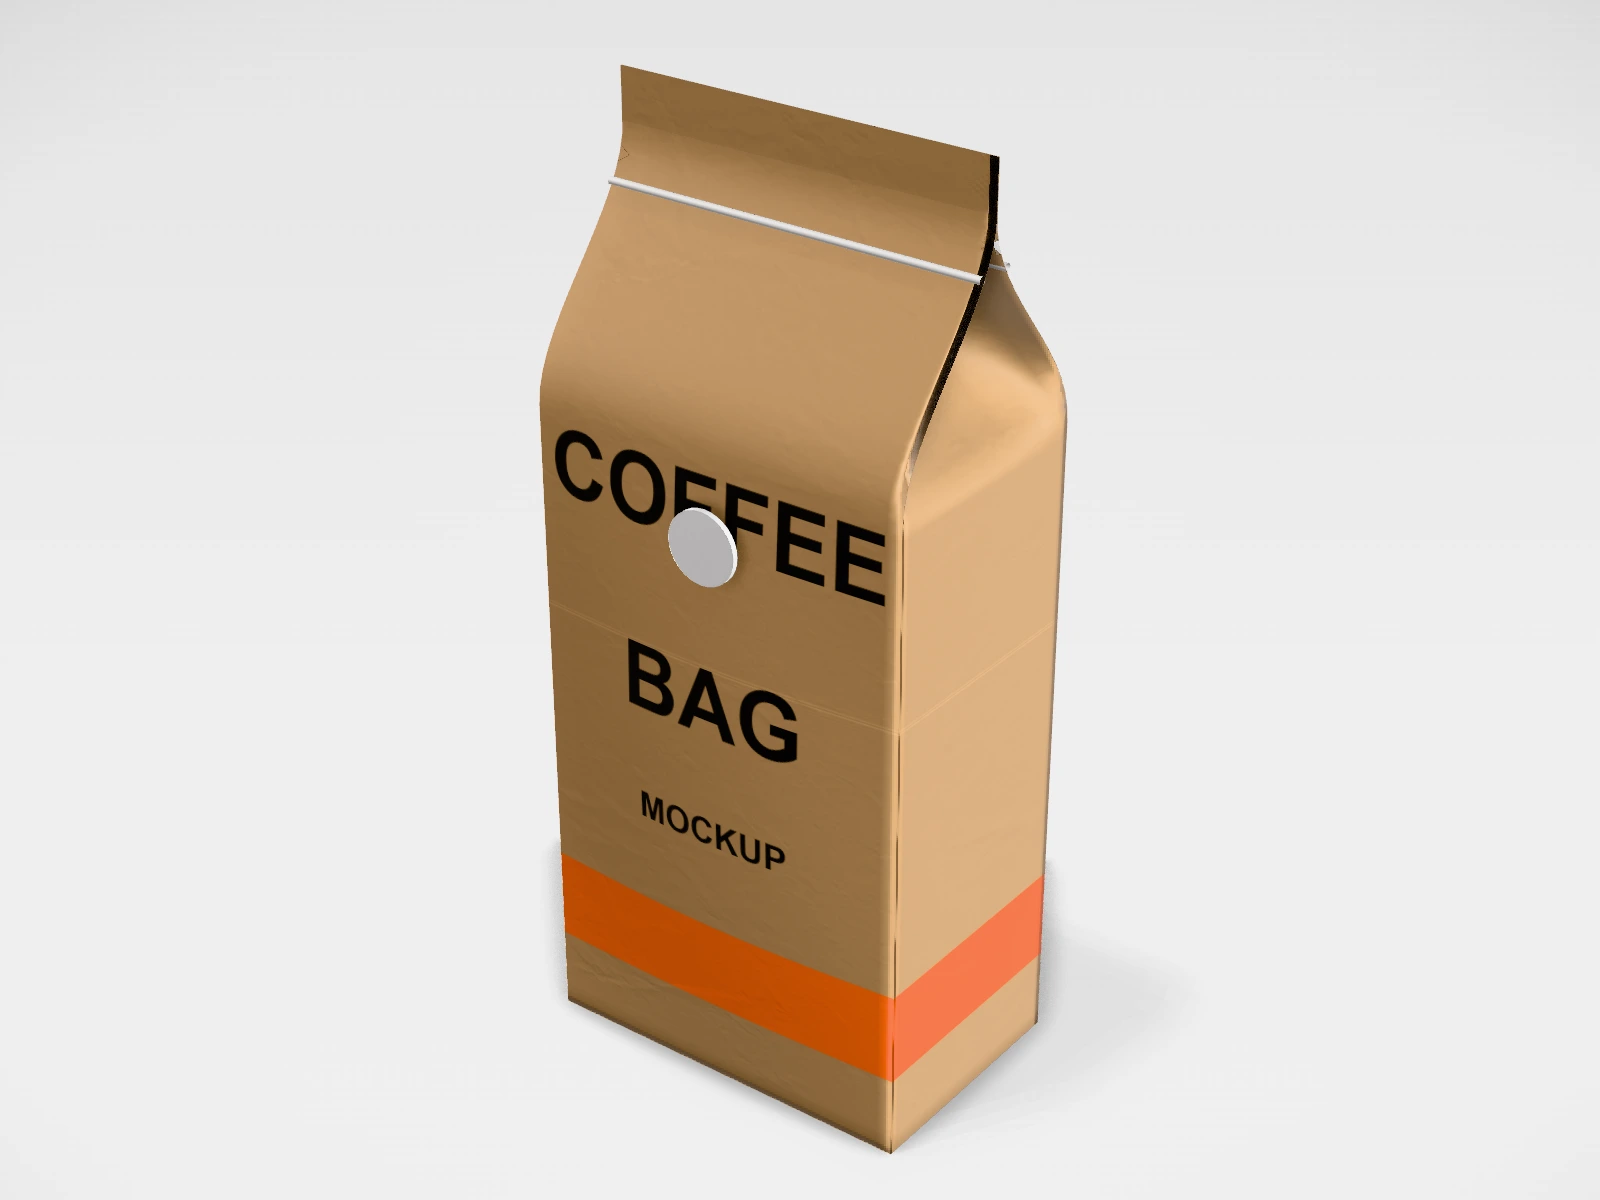
Coffee bag with valve mockup and print template
A pouch or sachet at 110 x 260 x 70 mm in kraft paper laminate. Change any size, put your artwork on it, see it in 3D and download a print-ready print layout. Free, in your browser, no account needed.
What you get
- Structure
- Pouch or sachet
- Starting size
- Width 110 mm, Height 260 mm, Gusset 70 mm. Every size can be changed.
- Material
- Kraft paper laminate
- Downloads
- PDF and SVG print template, PNG and JPG mockup images, turntable video, GLB 3D model
- Good for
- side gusset
- Accuracy
- An approximation of the industry structure: good for concepts and quotes. Have your printer check flaps, glue areas and allowances before production.
Coffee bag with valve: what to know
Freshly roasted coffee keeps giving off carbon dioxide for days. A side-gusset bag with a one-way degassing valve lets the gas out without letting air in, so the bag does not swell and the coffee stays fresh.
- A 250 g side-gusset bag is the common retail size for roasted beans and ground coffee.
- Place the valve on the upper front or back, away from text. The studio shows it; your converter fits it.
- Use a high-barrier film (metallised or foil laminate). Kraft outside with a barrier inside keeps the natural look.
- Leave a clear area for the roast date sticker or stamp, since it changes with every batch.
Parts of a pouch or sachet
A pouch is a flexible pack made from a printed, laminated film, sealed at the edges. It is light, cheap to ship, and the whole surface is printable. The studio covers stand-up pouches (doypacks), three-side seal, centre-seal pillow, flat-bottom and side-gusset pouches, sachets and stick packs, with options for zipper, tear notches, hang hole, spout and degassing valve. Snacks, spices, coffee, tea, dry fruits and powders all come in pouches.
- Front and back panels
- The two faces of the pouch. Both are fully printable.
- Bottom gusset
- On stand-up pouches, a folded panel at the base that opens when filled so the pouch stands.
- Side seals and top seal
- Heat-sealed edges, usually 5 to 10 mm wide. Nothing important should be printed here.
- Zipper
- A press-to-close track below the top seal so the pouch can be resealed.
- Tear notch
- A small cut in the side seal, above the zipper, so the pouch tears open cleanly.
- Valve, spout or hang hole
- Optional fitments: a one-way valve for coffee, a spout for liquids, a hang hole for pegs.
How to size it
- Pouches are sized by fill: weigh your product into a sample pouch or measure its volume. Light snacks need far more room than dense spices or dal.
- Enter width, height and gusset in the studio. The style presets give a sensible starting size.
- Leave 30 to 40 mm above the product for the zipper, tear notch and top seal.
- Keep artwork 5 mm inside the seals, and plan a plain area where the batch code and dates will be printed.
| For | Size (L x W x H) |
|---|---|
| 100 g | 120 x 190 mm, 70 mm gusset (stand-up pouch, dense product) |
| 250 g | 150 x 230 mm, 80 mm gusset |
| 500 g | 180 x 280 mm, 90 mm gusset |
| 1 kg | 230 x 330 mm, 110 mm gusset |
Materials and finishes
- PET/PE
- Clear or white printed pouches for dry foods with a modest shelf life.
- Kraft paper/PE (often with a barrier layer)
- The natural paper look for organic foods, tea and dry fruits.
- Metallised PET/PE or PET/aluminium foil/PE
- High barrier against light, air and moisture: coffee, spices, snacks that must stay crisp.
Finishes
- Matte or gloss print surface
- Set by the outer film or varnish. Matte with gloss spot details is a common premium look.
- Clear window
- A part of the print left unprinted on a clear film, so the product shows. Not possible on foil.
Mistakes to avoid
- Sizing a pouch without filling a sample: the gusset and seals take up more room than you expect.
- Text or barcodes in the seal area or across the bottom gusset fold, where they are crushed or hidden.
- No space for the batch code, date and price: the filler has to print over your design.
- Choosing a low-barrier film for a product that goes stale or absorbs moisture. Tell your supplier the product and shelf life.
- Forgetting that cylinder printing for pouches usually charges per colour. Fewer colours in a design can cost less to set up.
How to make it in the studio
- Open it. Press Customise this coffee bag with valve. It opens in the 3D studio at 110 x 260 x 70 mm.
- Set the size. In the Size panel, pick a preset or type your own measurements.
- Add your design. In the Design panel, upload your logo or artwork: it goes on the front first. Pick other faces to add colours, text or images to each.
- Check it in 3D. Turn the pack around. Switch to the flat print view to see the artwork on the print layout.
- Download. The Download panel gives you the print template first, then mockup images for your store or social posts.
- Get it made. If you want a quote, send the design to packitmama from the Download panel, and we will reply personally.
Questions
Which pouch style should I use?
Stand-up for most retail products; side-gusset or flat-bottom for coffee; sachets and sticks for single servings.
Can I download the print layout?
Yes. The Download panel gives the print area as PDF, SVG or DXF. Your converter will add their own seal and registration marks.
What must a food pouch show?
Check the current FSSAI labelling and packaging requirements for your product.