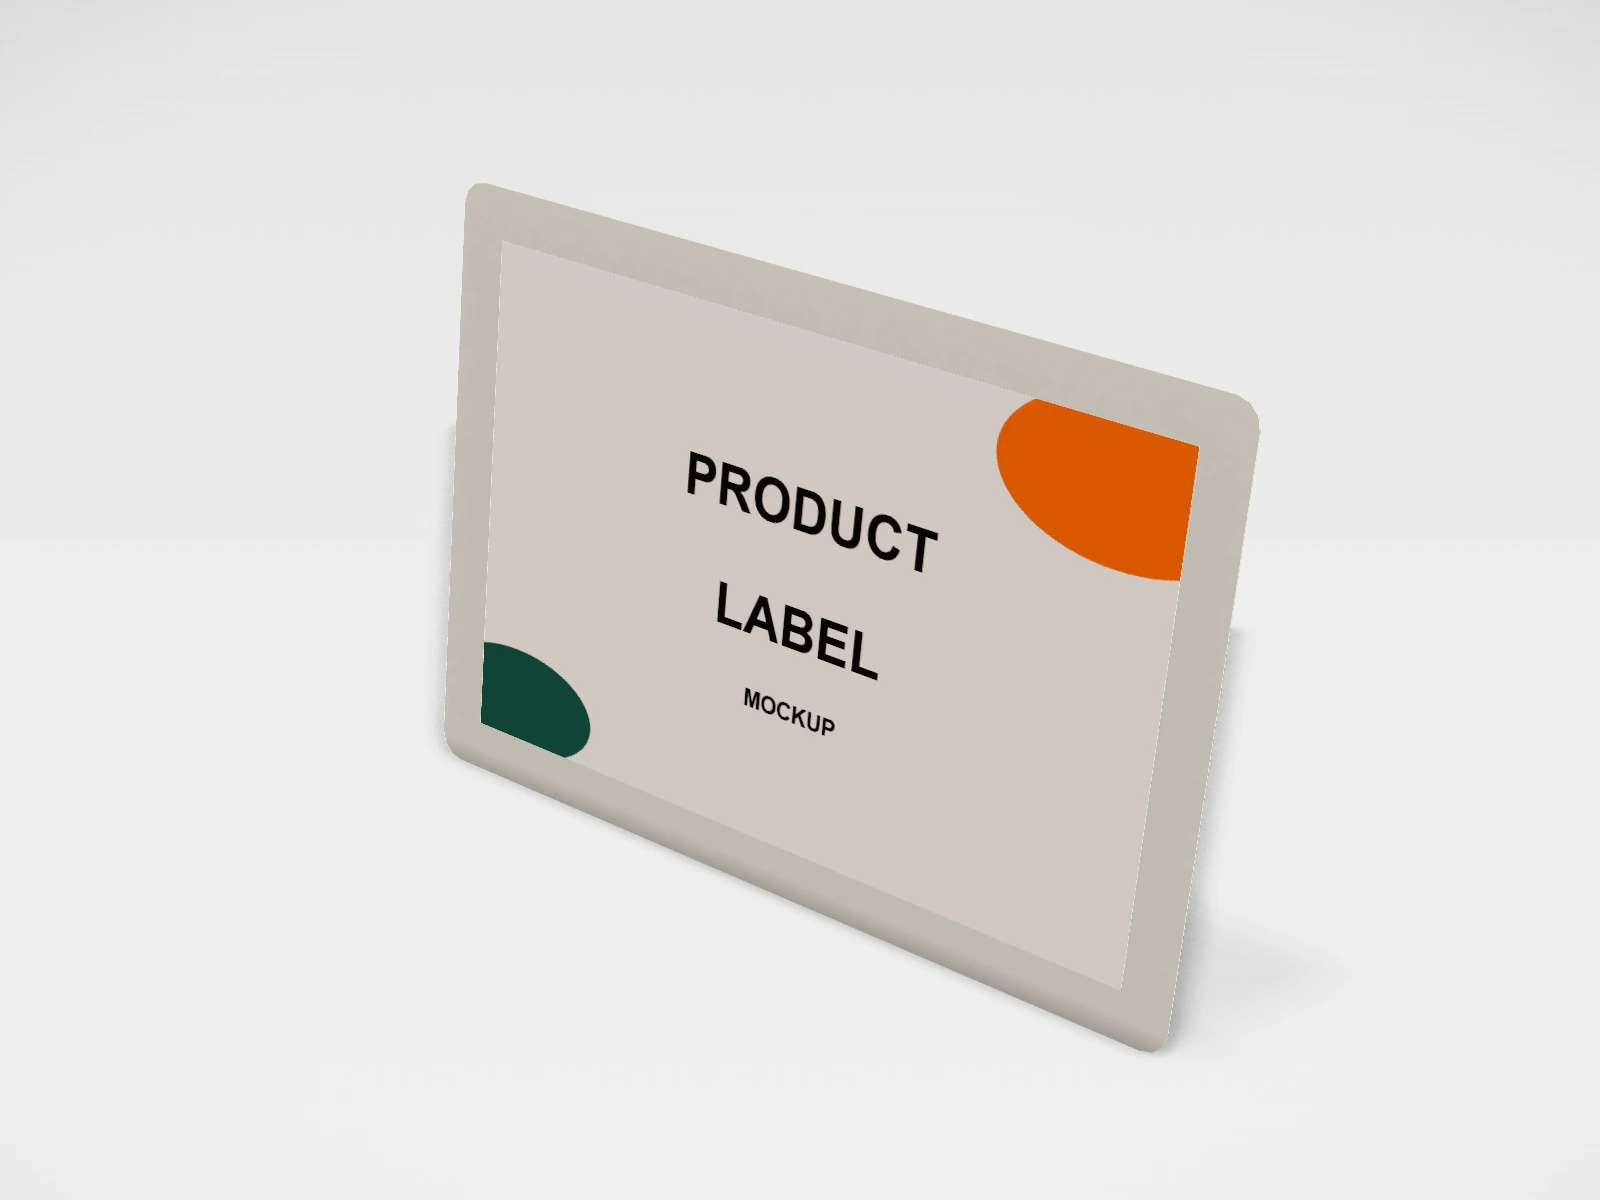
Product label mockup and print template
A sticker or label at 90 x 60 mm in coated paper. Change any size, put your artwork on it, see it in 3D and download a print-ready print file. Free, in your browser, no account needed.
What you get
- Structure
- Sticker or label
- Starting size
- Width 90 mm, Height 60 mm. Every size can be changed.
- Material
- Coated paper
- Downloads
- PDF and SVG print template, PNG and JPG mockup images, turntable video, GLB 3D model
- Good for
- packaging label
- Accuracy
- An approximation of the industry structure: good for concepts and quotes. Have your printer check flaps, glue areas and allowances before production.
Product label: what to know
A rectangular product label turns a plain bottle, box, tin or pouch into a branded product, and it carries the details customers and the law expect. 90 x 60 mm is a practical starting size for many small packs.
- Measure the flat face of the pack first and leave a few millimetres clear of edges and curves.
- Food, cosmetics and other packaged goods in India must show certain details (such as FSSAI or Legal Metrology declarations). Check the current rules for your product and leave space for them.
- Use vinyl or a laminated label for anything that gets wet, oily or chilled.
- Keep the batch number, date and price as blank spaces or a separate sticker, so one label design works for every batch.
Parts of a sticker or label
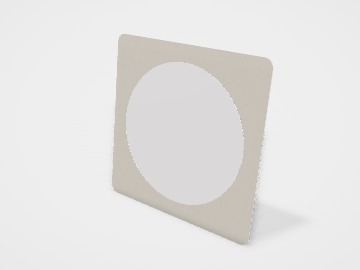
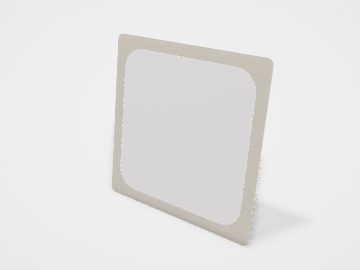
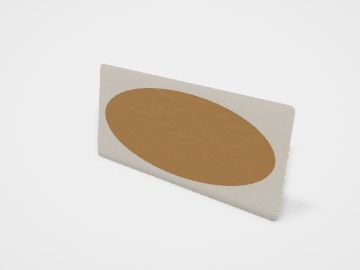
Stickers and labels are the cheapest way to brand plain packaging: a logo on a mailer, a seal on a pouch, a label on a jar. The studio shows a kiss-cut sticker on its backing sheet, in round, oval, square and rounded-rectangle shapes, with common sizes including a 90 x 60 mm product label and a 120 x 50 mm jar label. You design the front, and optionally the back of the backing sheet.
- Sticker face
- The printed front. Your design goes here.
- Cut line
- The shape that is cut. Kiss-cut goes through the sticker only; die-cut goes through the backing as well.
- Backing sheet (liner)
- The release paper the sticker peels off. Its back can be printed with a logo or instructions.
- Bleed
- Artwork that runs about 2 to 3 mm past the cut line, so no white edge shows.
- Safe area
- About 3 mm inside the cut line. Keep text and logos within it.
How to size it
- Measure the place the sticker goes: the lid, the flat face of the jar, the flap of the mailer. Leave a few millimetres clear of edges and curves.
- Pick the closest size and shape in the studio.
- Extend backgrounds 2 to 3 mm past the cut line, and keep text 3 mm inside it.
- Make the artwork at about 300 dpi at the sticker size, or as vector.
| For | Size (L x W x H) |
|---|---|
| Round logo or seal | 50 mm or 75 mm diameter |
| Large sticker | 100 mm |
| Product label | 90 x 60 mm |
| Jar label | 120 x 50 mm |
Materials and finishes
- Vinyl
- Waterproof and tough. Laptop stickers, bottles, outdoor use and anything that gets wet or handled.
- Coated paper
- Indoor labels, packaging seals and short runs. Not water-resistant unless laminated.
- Kraft paper
- A natural look on jars and pouches. Light colours print weakly on brown.
- Clear or transparent film
- A no-label look on glass. White areas need a white ink layer, so ask your printer.
Finishes
- Gloss or matte lamination
- Protects against water, oil and rubbing. Useful for kitchen and bathroom products.
- Sheets or rolls
- Sheets for hand-applying small runs; rolls if you use a label dispenser or applicator.
Mistakes to avoid
- No bleed past the cut line: a white sliver appears on part of the batch.
- A label wider than the flat face of the jar or bottle: it wrinkles on the curve. Measure the flat area first.
- Paper labels on products that get wet or oily: they stain and peel. Use vinyl or laminate them.
- Tiny text on a small sticker: anything under about 6 pt is hard to read and may not print cleanly.
How to make it in the studio
- Open it. Press Customise this product label. It opens in the 3D studio at 90 x 60 mm.
- Set the size. In the Size panel, pick a preset or type your own measurements.
- Add your design. In the Design panel, upload your logo or artwork: it goes on the front first. Pick other faces to add colours, text or images to each.
- Check it in 3D. Turn the pack around. Switch to the flat print view to see the artwork on the print file.
- Download. The Download panel gives you the print template first, then mockup images for your store or social posts.
- Get it made. If you want a quote, send the design to packitmama from the Download panel, and we will reply personally.
Questions
Kiss-cut or die-cut?
Kiss-cut stickers sit on a larger backing sheet and are easy to peel; die-cut stickers are cut through the backing to the same shape. The studio shows kiss-cut.
Can I make a wrap-around bottle label?
The studio stickers are flat shapes. For a wrap label, measure the circumference and height and ask your printer for a template; tapered bottles need a curved label.
What file do I send?
Download the PDF or SVG print layout from the studio. It has the cut line and bleed at actual size.