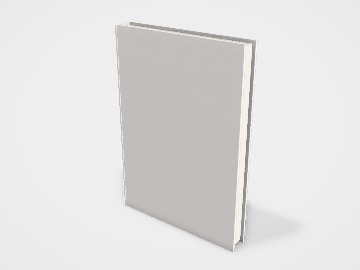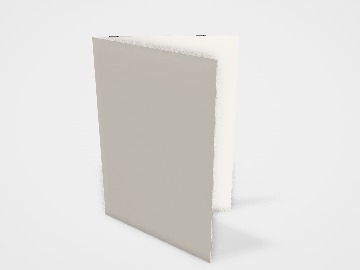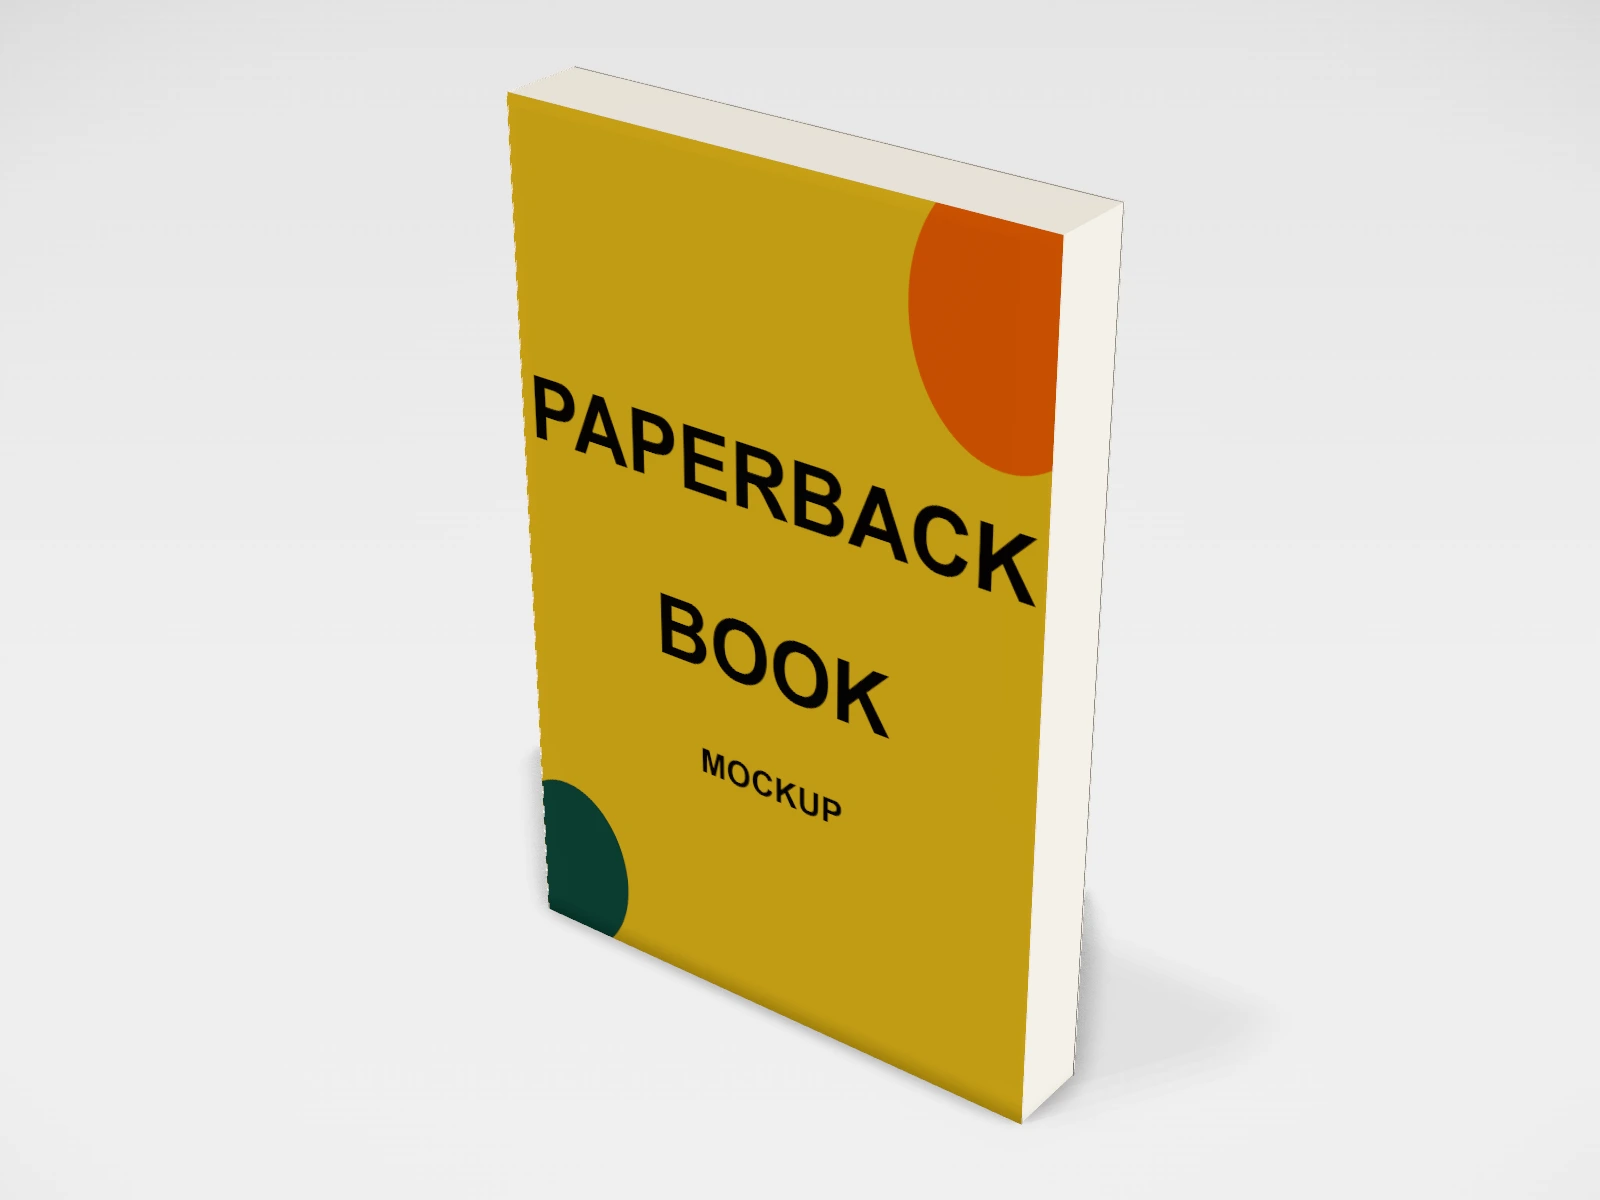
Paperback book 6 x 9 in mockup and print template
A book at 152 x 229 x 24 mm in uncoated paper. Change any size, put your artwork on it, see it in 3D and download a print-ready print file. Free, in your browser, no account needed.
What you get
- Structure
- Book
- Starting size
- Width 152 mm, Height 229 mm, Thickness 24 mm. Every size can be changed.
- Material
- Uncoated paper
- Downloads
- PDF and SVG print template, PNG and JPG mockup images, turntable video, GLB 3D model
- Good for
- novel, cover
- Accuracy
- An approximation of the industry structure: good for concepts and quotes. Have your printer check flaps, glue areas and allowances before production.
Parts of a book
This template covers a book's outer cover: hardcover, paperback and saddle-stitched magazine, in common trim sizes. The cover is laid out as one wrap, back, spine and front, which is how printers ask for it. Use it to see a cover in 3D for a launch post or a store listing, and to plan the wrap before your designer builds the final file to your printer's spine width and allowances.
- Front cover
- Title, author and the main image. The panel people see first, online and on a shelf.
- Spine
- Title and author, read top to bottom in most English-language books. Its width depends on page count and paper.
- Back cover
- Blurb, author note, price and the barcode area.
- Boards (hardcover)
- Stiff greyboard covered by the printed wrap. They overhang the pages by about 3 mm; the studio models this.
- Page block
- The inside pages. The studio shows the page edges; inside pages are not designed here.
How to size it
- Pick the trim size and binding in the studio, then set the thickness to match your page block.
- Get the spine width from your printer. It depends on the page count and the paper, and a guess of even 1 or 2 mm shows on the shelf.
- For paperbacks and magazines, add 3 mm bleed on the outer edges and keep text 5 mm or more inside the trim and away from the spine folds.
- For hardcovers, the printed wrap folds around the boards. Printers usually add about 15 to 20 mm of turn-in on every edge and a hinge gap beside the spine: use the figures they give you.
- Make cover images about 300 dpi at the full wrap size.
| For | Size (L x W x H) |
|---|---|
| 110 x 178 mm | |
| A5 | 148 x 210 mm (a common size for Indian novels and notebooks) |
| US trade | 6 x 9 in (152 x 229 mm) (common for self-published books) |
| A4 magazine or catalogue | 210 x 297 mm |
Materials and finishes
- Coated art card, about 250 to 300 gsm
- Paperback covers. Usually laminated for wear.
- Greyboard about 2 to 3 mm, wrapped in 130 to 170 gsm art paper
- Hardcover cases. Strong and long lasting.
- Uncoated paper
- A softer, natural feel for literary covers and journals. Colours print duller than on coated stock.
- Inside pages, about 70 to 80 gsm
- The usual weight for text pages (often maplitho in India). Coated paper suits photo-heavy books and magazines.
Finishes
- Matte or gloss lamination
- Protects the cover from scuffs. Matte for a calm look, gloss for vivid photos.
- Spot UV, foil and embossing
- Highlights a title or logo. Keep foil details thicker than about 0.3 mm.
Mistakes to avoid
- Guessing the spine width: the title slides onto the front or back. Get the exact width from your printer once the page count is final.
- No barcode space: an ISBN barcode needs a clear white area on the back cover, usually near the bottom.
- Text close to the spine folds or the trim: it gets cut or wraps around the edge. Keep a 5 mm safe margin.
- A magazine page count that is not a multiple of 4: saddle-stitched books are built from folded sheets of 4 pages.
- Designing a hardcover wrap without turn-ins: the artwork stops at the board edge and raw board shows.
How to make it in the studio
- Open it. Press Customise this paperback book 6 x 9 in. It opens in the 3D studio at 152 x 229 x 24 mm.
- Set the size. In the Size panel, pick a preset or type your own measurements.
- Add your design. In the Design panel, upload your logo or artwork: it goes on the front first. Pick other faces to add colours, text or images to each.
- Check it in 3D. Turn the pack around. Switch to the flat print view to see the artwork on the print file.
- Download. The Download panel gives you the print template first, then mockup images for your store or social posts.
- Get it made. If you want a quote, send the design to packitmama from the Download panel, and we will reply personally.
Questions
Where does the spine print?
On the "left" face in the studio. Upload the spine as its own image, or use one full-sheet image across back, spine and front.
Does the studio make the full hardcover file?
It lays out back, spine and front at the trim size. Your printer adds the turn-ins and hinge gaps for the case, so share their template with your designer.
Are dust jackets included?
No. Jackets and endpapers are not modelled.