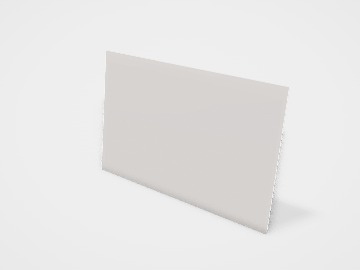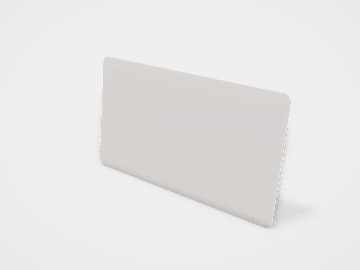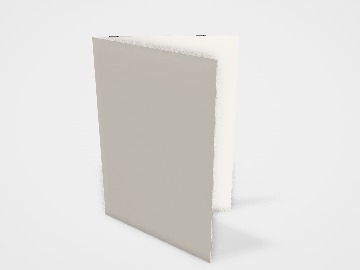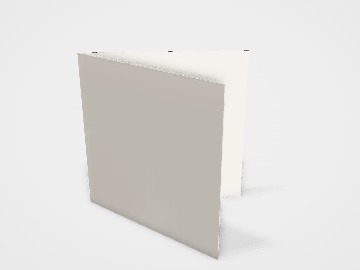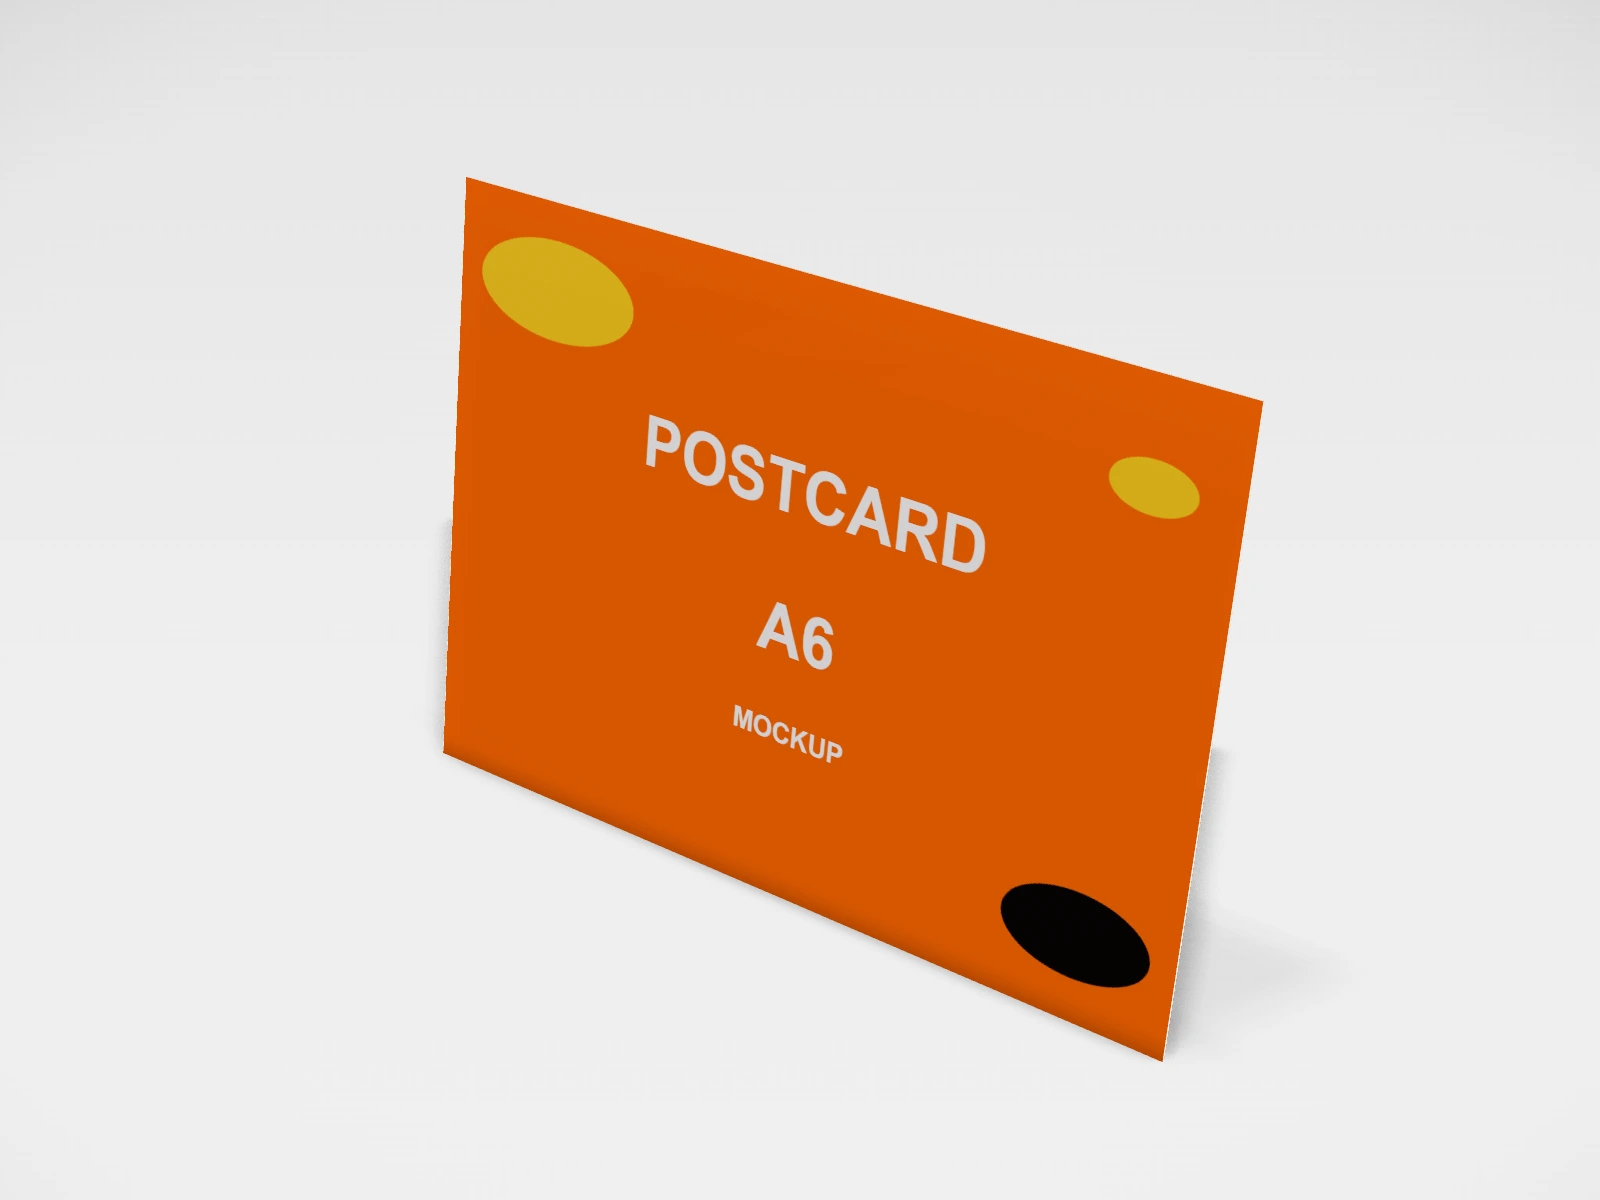
Postcard A6 mockup and print template
A card, flyer or ticket at 148 x 105 mm in uncoated paper. Change any size, put your artwork on it, see it in 3D and download a print-ready print file. Free, in your browser, no account needed.
What you get
- Structure
- Card, flyer or ticket
- Starting size
- Width 148 mm, Height 105 mm. Every size can be changed.
- Material
- Uncoated paper
- Downloads
- PDF and SVG print template, PNG and JPG mockup images, turntable video, GLB 3D model
- Good for
- mailer
- Accuracy
- An approximation of the industry structure: good for concepts and quotes. Have your printer check flaps, glue areas and allowances before production.
Postcard A6: what to know
An A6 postcard is a small, cheap way to say thank you inside a parcel, share a discount code, or send a printed mailer. Many D2C brands tuck one into every order.
- Use one side for a picture and the other for a short message, a code or a QR link to your store.
- Uncoated card is easy to write on if you add handwritten notes; coated card makes photos brighter.
- If you post it, keep the address area on the back plain and check your postal service rules for postcards.
Parts of a card, flyer or ticket
One template for flat, printed-both-sides pieces: business cards, postcards, A5 and A4 flyers, DL rack cards and event tickets with a perforated stub. Pick a standard size, a paper thickness and rounded corners if you want them, put artwork on the front and back, and download the print layout with bleed as PDF or SVG. Flat prints are simple, but small things like bleed and safe margins decide whether the batch comes back clean.
- Front
- Logo, name, headline or main image.
- Back
- Contact details, offer, map or a plain brand colour.
- Trim line
- The finished edge, where the guillotine cuts.
- Bleed
- Artwork that runs 3 mm past the trim, so no white edge shows if the cut moves slightly.
- Safe area
- About 3 to 5 mm inside the trim. Keep text and logos within it.
- Perforation (tickets)
- A line of small holes so the stub tears off cleanly. Turn on Perforated stub in the studio.
How to size it
- Pick the size in the studio. Most printers and paper stocks are set up for standard sizes, so a custom size often costs more.
- Extend backgrounds and images 3 mm past every edge (bleed). The downloaded layout shows the bleed and cut lines.
- Keep text at least 3 mm inside the trim on small cards and 5 mm on flyers.
- Use images at about 300 dpi at the printed size, and make small text no smaller than about 6 to 7 pt.
- Upload the front and back designs, then download the PDF or SVG print layout for your printer.
| For | Size (L x W x H) |
|---|---|
| Business card (India, Europe) | 85 x 55 mm (many Indian printers also offer 3.5 x 2 in) |
| Business card (US) | 3.5 x 2 in (88.9 x 50.8 mm) |
| Postcard | A6, 148 x 105 mm |
| Flyer | A5 148 x 210 mm or A4 210 x 297 mm |
| Rack card or menu | DL, 99 x 210 mm |
Materials and finishes
- Card, about 300 to 400 gsm
- Business cards, postcards and tickets. The studio offers 350 gsm, 450 gsm and a 1 mm luxe stock.
- Paper, about 130 to 170 gsm
- Flyers and leaflets that are handed out in numbers or folded.
- Coated (art) paper
- Sharp, bright colour and photos.
- Uncoated or textured paper
- A natural feel, easy to write on. Colours print softer.
Finishes
- Matte, gloss or soft-touch lamination
- Protects cards from wear; soft-touch adds a velvety feel.
- Spot UV or foil
- Highlights a logo or one detail. Keep the area simple and bold.
- Rounded corners
- A softer look that resists dog-ears. Turn on Rounded corners in the studio.
Mistakes to avoid
- No bleed: a thin white line appears on some cards where the cut drifted.
- Text right at the edge: it gets trimmed off. Keep it inside the safe area.
- A thin border around the card: any small shift in cutting makes it uneven. Use a wide border or none.
- Dark, heavy colour on both sides of thin paper: it can show through. Use heavier stock.
- Sending RGB colours and expecting the same on paper: bright greens and blues often print duller. Ask for a CMYK proof.
How to make it in the studio
- Open it. Press Customise this postcard A6. It opens in the 3D studio at 148 x 105 mm.
- Set the size. In the Size panel, pick a preset or type your own measurements.
- Add your design. In the Design panel, upload your logo or artwork: it goes on the front first. Pick other faces to add colours, text or images to each.
- Check it in 3D. Turn the pack around. Switch to the flat print view to see the artwork on the print file.
- Download. The Download panel gives you the print template first, then mockup images for your store or social posts.
- Get it made. If you want a quote, send the design to packitmama from the Download panel, and we will reply personally.
Questions
What is the standard visiting card size in India?
Many Indian printers use 3.5 x 2 in (about 89 x 51 mm); 85 x 55 mm is common in Europe and with many Indian online printers too. Both are in the studio.
What is bleed?
Extra artwork, usually 3 mm, beyond the cut line. It is trimmed away, and it makes sure colour reaches the very edge.
Which file do I send the printer?
The PDF print layout from the Download panel: it is at actual size with bleed and cut lines.