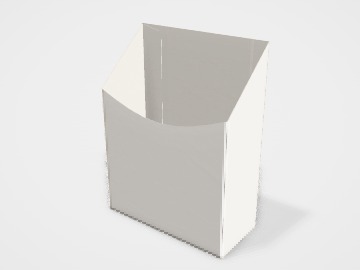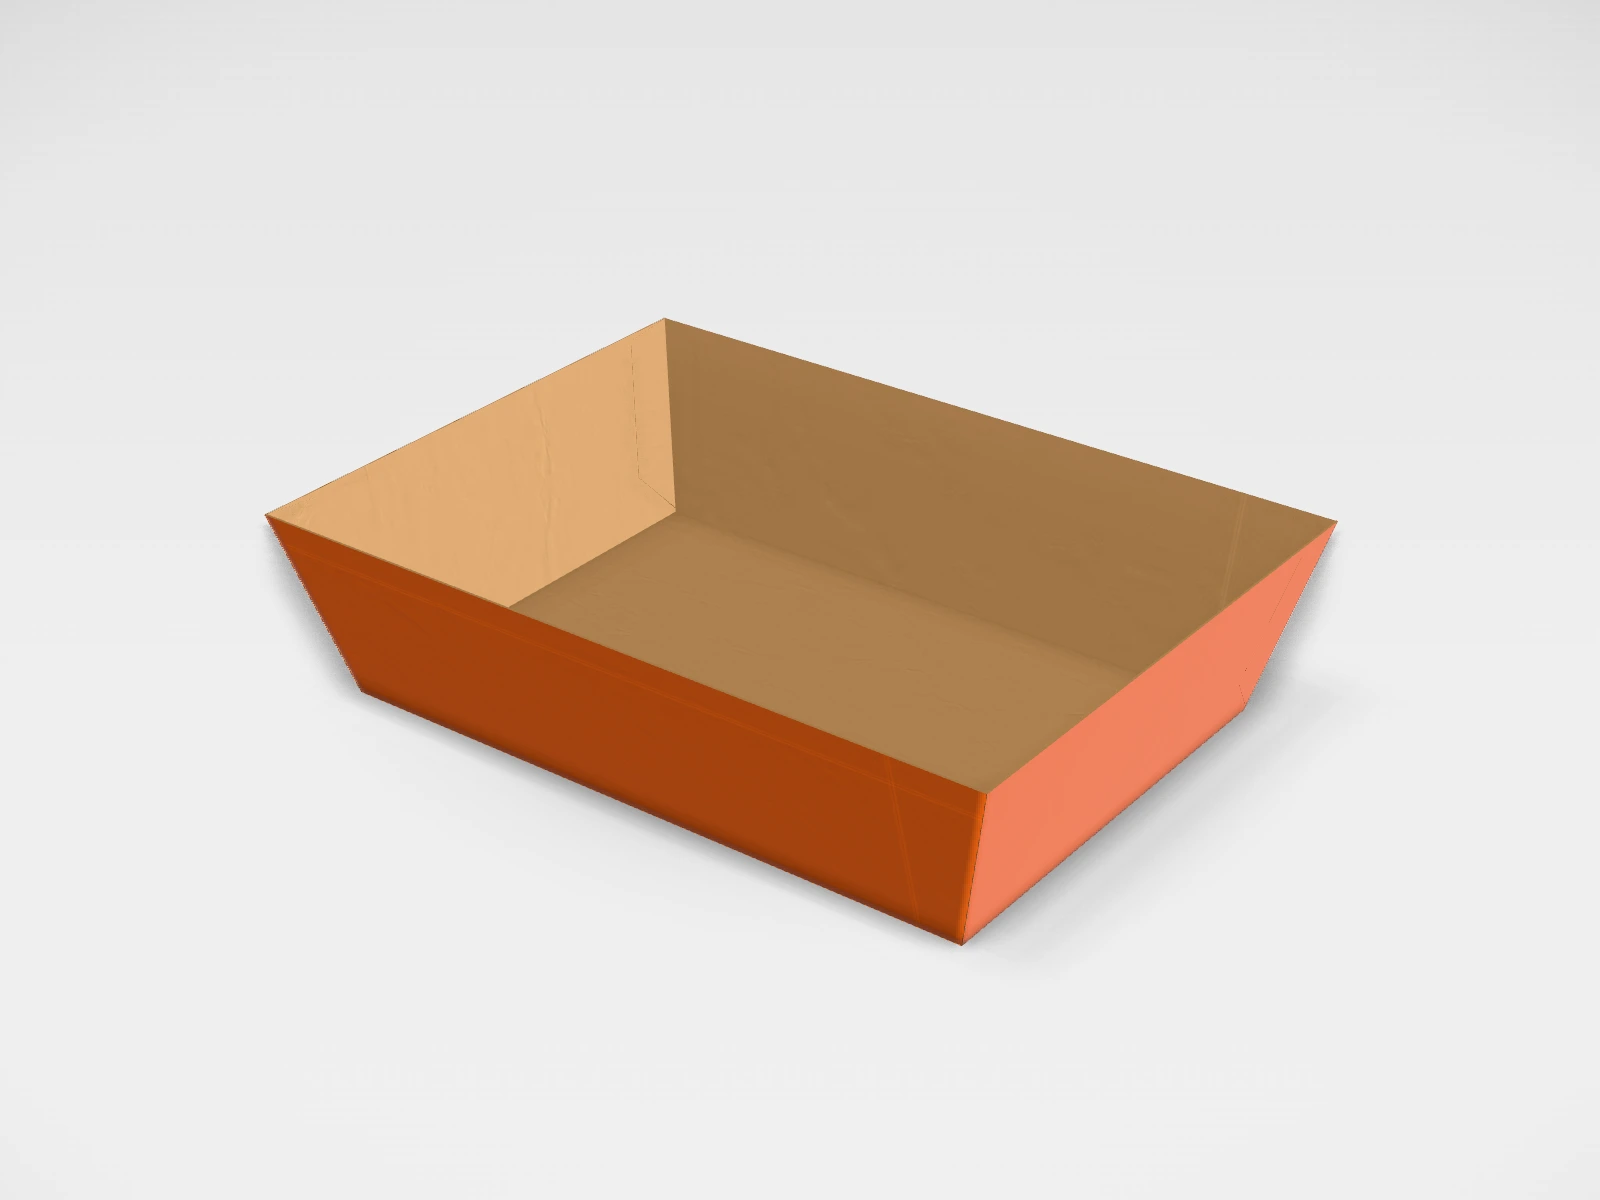
Kraft meal tray mockup and dieline
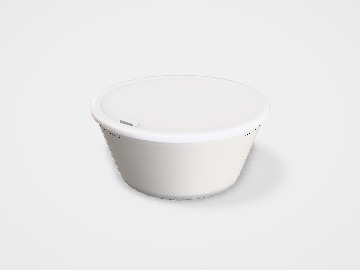
A tapered food tray at 160 x 110 x 45 mm in kraft paperboard. Change any size, put your artwork on it, see it in 3D and download a print-ready dieline. Free, in your browser, no account needed.
The flat dieline
What you get
- Structure
- Tapered food tray
- Starting size
- Length 160 mm, Width 110 mm, Height 45 mm. Every size can be changed.
- Material
- Kraft paperboard
- Downloads
- PDF, SVG and DXF dieline, PNG and JPG mockup images, fold and turntable videos, GLB 3D model
- Good for
- food tray, nachos
- Accuracy
- An approximation of the industry structure: good for concepts and quotes. Have your printer check flaps, glue areas and allowances before production.
Parts of a tapered food tray
A tapered food tray is an open tray with sloping walls: a boat tray for chaat, a meal tray for a counter, or a tub for popcorn and snacks. It is filled and handed over in one go, with no lid to fold. Sloping walls make it easy to eat from and let empty trays nest inside each other for storage.
- Floor
- The base. In the studio, L and W are the floor size.
- Long walls
- Front and back walls, the main print area on the outside.
- End walls
- The shorter sloping walls at each end.
- Corner gussets
- Folds or glued corners that hold the walls together and keep liquid in.
How to size it
- Put your portion on a flat plate and measure the area it covers. That is close to the floor size you need.
- Choose a height: shallow (25 to 40 mm) for dry snacks and chaat, deeper (50 mm and up) for saucy meals.
- Set the wall taper (0 to 20 degrees). More taper opens the top and makes the tray nest better, but holds less.
- Check the closed (top) size the studio shows, so the tray fits your counter and carry bags.
Materials and finishes
- Food-grade kraft paperboard, coated
- Street food, chaat and snack trays.
- Food-grade white paperboard, coated
- Brighter print for branded meal trays.
Mistakes to avoid
- Too little height for wet food: gravy and chutney run over the edge when the tray is carried.
- Artwork on the floor of the inside, where it is covered by food and touches it. Print the outside walls.
- Ignoring the taper when measuring: the top is larger than the floor, so the tray takes more space than the floor size suggests.
How to make it in the studio
- Open it. Press Customise this kraft meal tray. It opens in the 3D studio at 160 x 110 x 45 mm.
- Set the size. In the Size panel, choose whether you are entering the Inside or Outside size, then type your measurements. The other one is shown underneath.
- Add your design. In the Design panel, upload your logo or artwork: it goes on the front first. Pick other faces to add colours, text or images to each.
- Check it in 3D. Turn the pack around, and use the Flat to Closed slider to watch it fold. Switch to the Dieline view to see the artwork on the dieline.
- Download. The Download panel gives you the PDF dieline to send your printer first, then mockup images for your store or social posts.
- Get it made. If you want a quote, send the design to packitmama from the Download panel, and we will reply personally.
Questions
Can I add a lid?
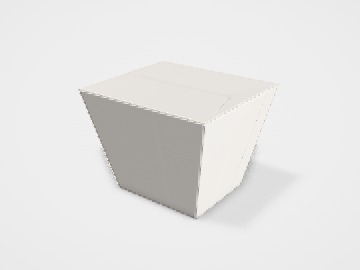
This template is an open tray. For a closed meal box, look at the noodle box or burger box.
Why does the top size change when I change the taper?
L and W set the floor. The walls lean out, so the top grows with the taper and height.