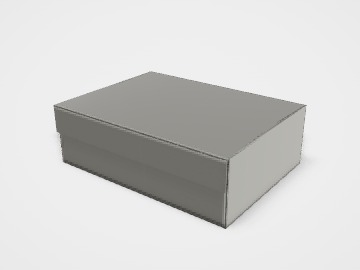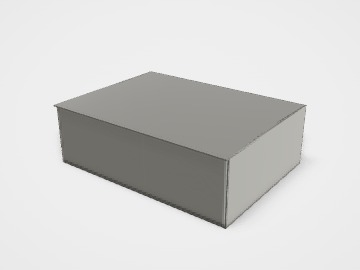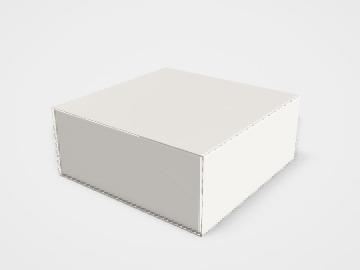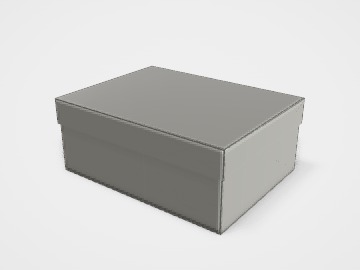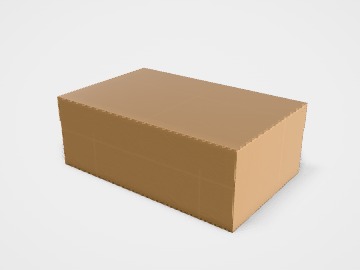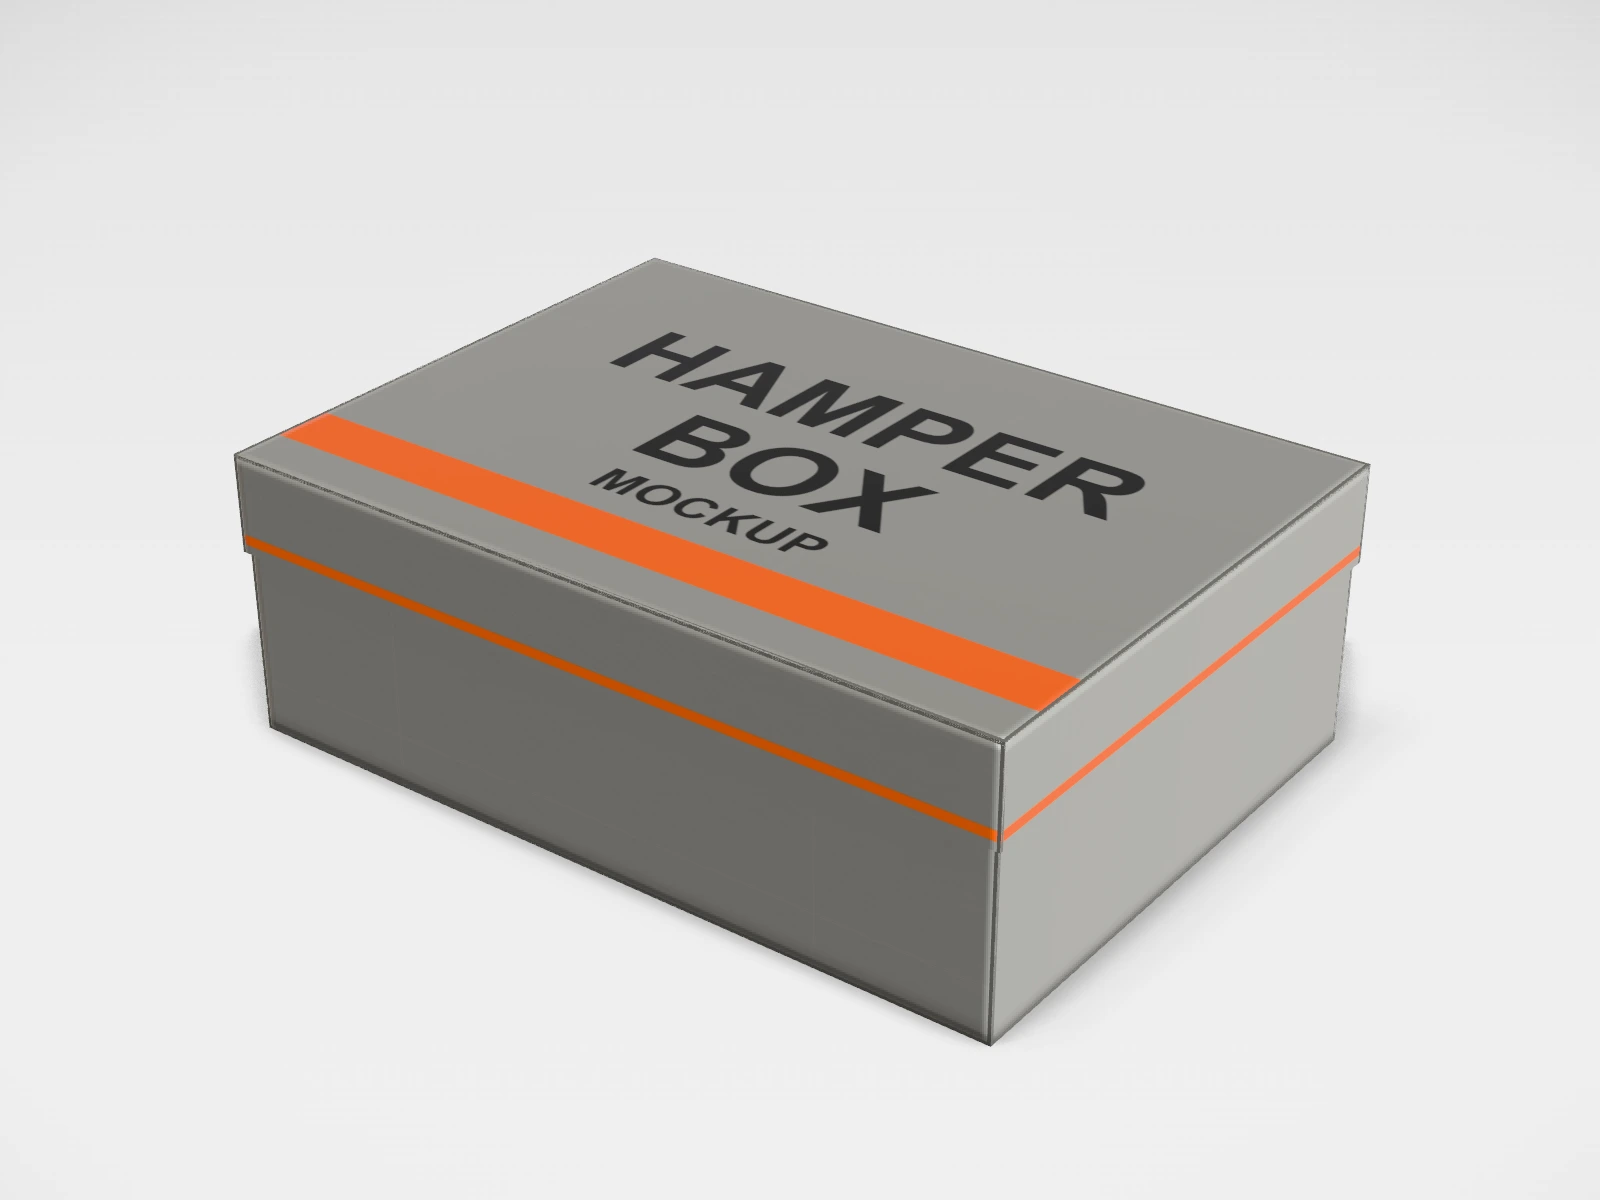
Gift hamper box mockup and dieline
A rigid lid-and-base box at 350 x 250 x 120 mm in grey board. Change any size, put your artwork on it, see it in 3D and download a print-ready dieline. Free, in your browser, no account needed.
The flat dieline
What you get
- Structure
- Rigid lid-and-base box
- Starting size
- Length 350 mm, Width 250 mm, Height 120 mm. Every size can be changed.
- Material
- Grey board
- Downloads
- PDF, SVG and DXF dieline, PNG and JPG mockup images, fold and turntable videos, GLB 3D model
- Good for
- corporate gift, hamper
- Accuracy
- An approximation of the industry structure: good for concepts and quotes. Have your printer check flaps, glue areas and allowances before production.
Gift hamper box: what to know
Hamper boxes hold several products together: festive hampers, corporate gifts, wedding favours and seasonal sets. The box has to carry real weight and keep a mix of shapes from moving.
- Lay out the products as they will sit, then size the box to that layout plus room for filler or an insert.
- A full hamper can be heavy. Ask for thicker greyboard on the base for large boxes.
- Shredded paper or a card insert keeps items from shifting. A fitted insert looks neater but costs more.
- If hampers go by courier, plan an outer shipping carton; rigid boxes scuff in transit.
Parts of a rigid lid-and-base box
A lid-and-base box is two separate trays: a base that holds the product and a lid that slides down over it. It is the classic gift box: the lid lifts straight off, so opening it feels like an occasion, and the walls are stiff enough to stack. Premium versions are rigid (thick greyboard wrapped in printed paper); everyday versions fold up from a single sheet of paperboard.
- Base tray
- Floor and four walls that hold the product. Its inside size is the size you design to.
- Lid
- A slightly larger tray that fits over the base. A shallow lid covers the top edge; a full-depth lid reaches the bottom.
- Turn-ins
- On rigid boxes, the wrap paper folds over the top edge and into the walls, so no raw board shows.
- Wrap
- The printed paper glued around a rigid box. This is where your artwork goes.
- Insert (optional)
- A card or foam tray inside that holds each item in place, and a ribbon to lift it out.
How to size it
- Measure the product (or the product in its inner pack) at its widest points: length, width, height.
- Add 2 to 3 mm on each side for a snug fit, more if there is an insert or tissue paper.
- Enter those as Inside sizes in the studio. The outside size, which grows by the board thickness and the lid, is shown under the fields.
- Pick the lid depth: a shallow lid (about a third of the box height) is cheaper and easier to open; a full-depth lid looks more premium.
Materials and finishes
- Greyboard (chipboard) 1.5 to 3 mm, wrapped in printed paper
- Rigid gift boxes: jewellery, perfume, premium sweets, hampers. Strong and heavy, delivered already made up.
- White paperboard, 300 to 400 gsm
- Folding lid-and-base boxes: lighter, ships flat, lower cost. Good for everyday gifts and sweets.
- Kraft paperboard
- A natural, unbleached look; prints darker and less vivid than white board.
Finishes
- Matte or gloss lamination
- Protects the print from scuffs and fingerprints.
- Soft-touch lamination
- A velvety feel for premium boxes; shows fingerprints less than gloss.
- Foil stamping and embossing
- Gold or silver logos and raised lettering. Keep foil details larger than about 0.3 mm so they stay crisp.
Mistakes to avoid
- Designing to the outside size: the product then does not fit. Design to the inside and let the walls grow outward.
- Forgetting the lid sits over the base: on rigid boxes the lid is a few millimetres larger all round.
- Placing text right at the lid edge, where it folds over the turn-in and gets cut or distorted. Keep 5 mm clear of every edge.
- Low-resolution images: artwork needs about 300 dpi at the printed size. A web logo is usually too small.
How to make it in the studio
- Open it. Press Customise this gift hamper box. It opens in the 3D studio at 350 x 250 x 120 mm.
- Set the size. In the Size panel, choose whether you are entering the Inside or Outside size, then type your measurements. The other one is shown underneath.
- Add your design. In the Design panel, upload your logo or artwork: it goes on the top first. Pick other faces to add colours, text or images to each.
- Check it in 3D. Turn the pack around, and use the Flat to Closed slider to watch it fold. Switch to the Dieline view to see the artwork on the dieline.
- Download. The Download panel gives you the PDF dieline to send your printer first, then mockup images for your store or social posts.
- Get it made. If you want a quote, send the design to packitmama from the Download panel, and we will reply personally.
Questions
Rigid or folding: which do I need?
Rigid for premium gifts that are handed over in person; folding for lighter, cheaper boxes that ship flat or go out in large numbers.
Can I get the dieline?
Yes. Download it as PDF, SVG or DXF from the Download panel. It is a concept dieline: ask your printer to check the board allowances before production.
How do I print on the lid and the walls separately?
In the Design panel, pick the face (Top, Front, Left...) and add a colour, image or text to just that face.