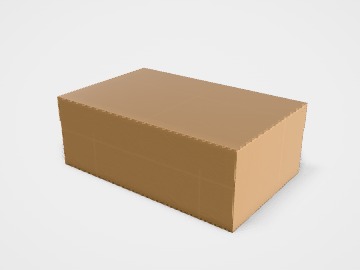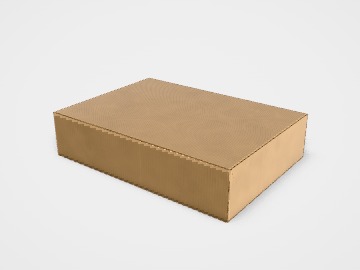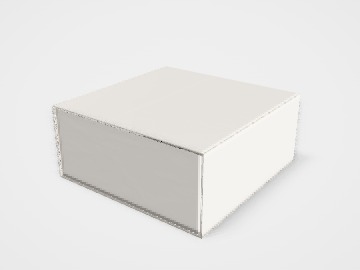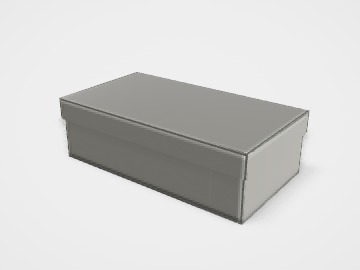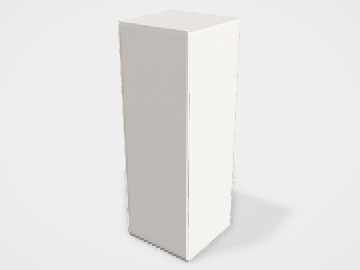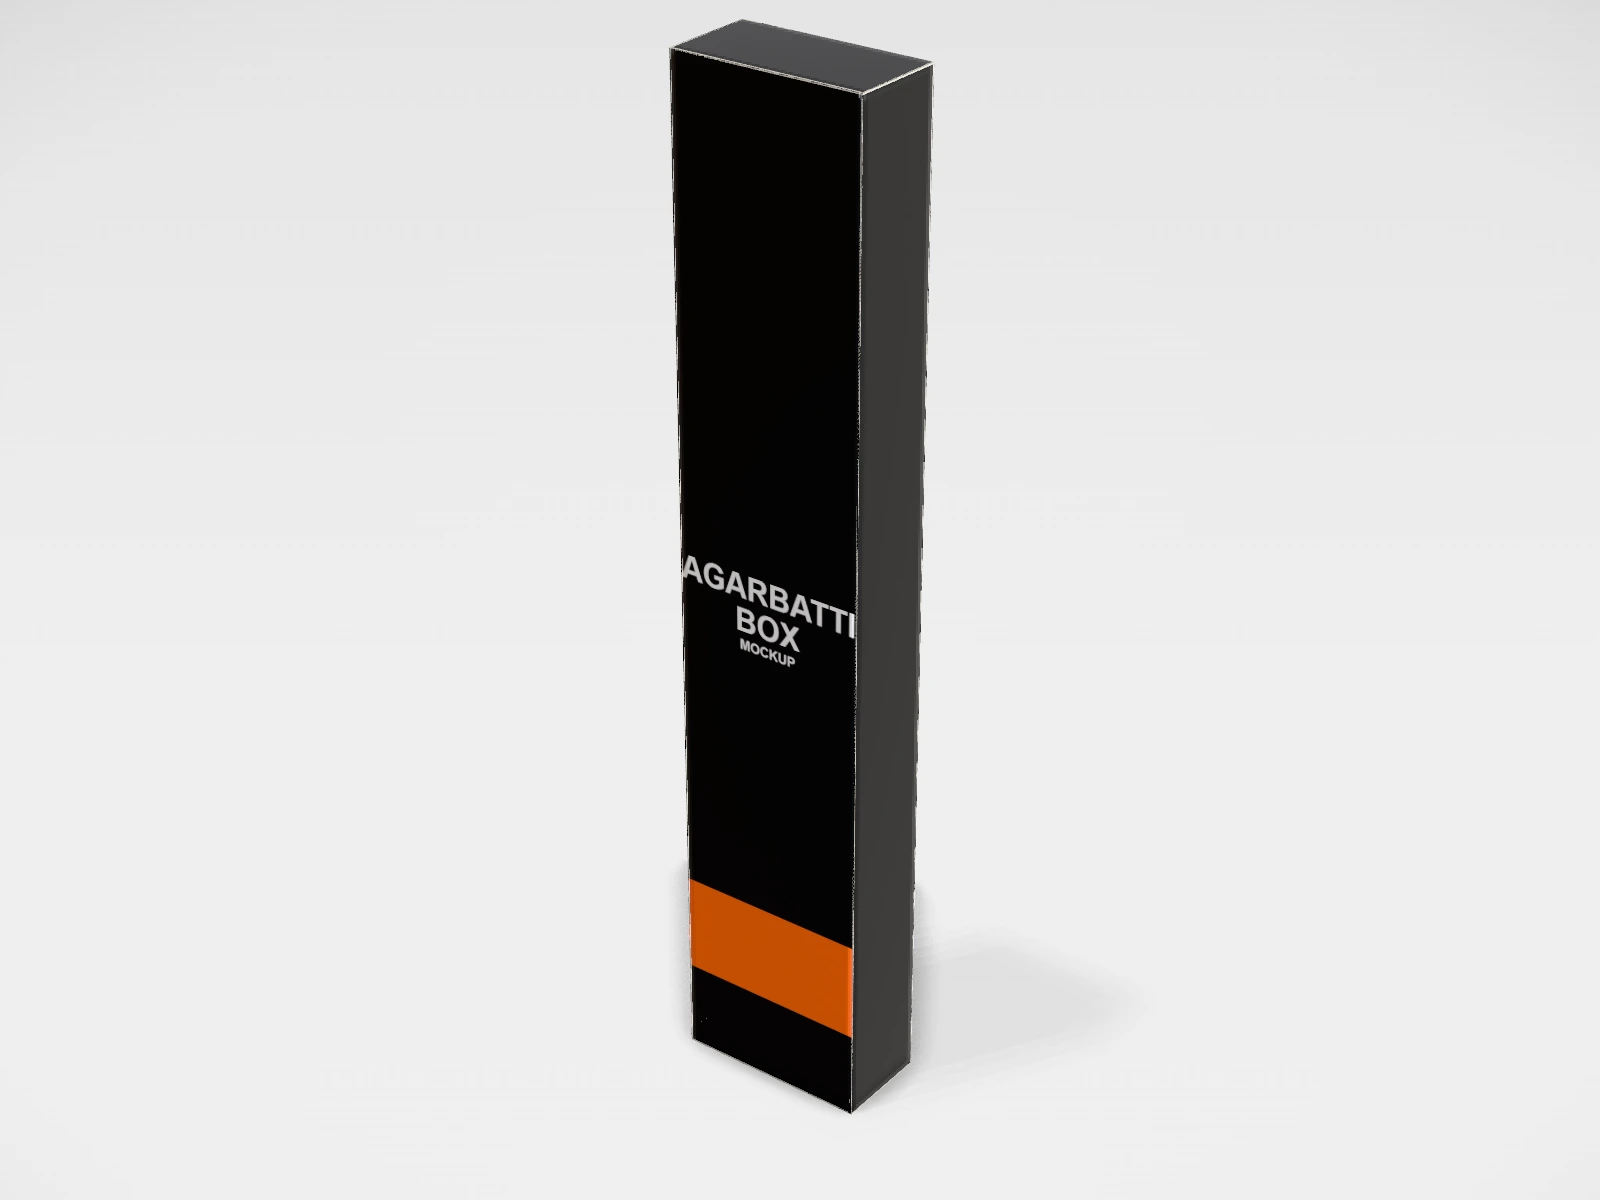
Agarbatti box mockup and dieline
A straight tuck end box at 50 x 25 x 260 mm in white paperboard. Change any size, put your artwork on it, see it in 3D and download a print-ready dieline. Free, in your browser, no account needed.
The flat dieline
What you get
- Structure
- Straight tuck end box
- Starting size
- Length 50 mm, Width 25 mm, Height 260 mm. Every size can be changed.
- Material
- White paperboard
- Downloads
- PDF, SVG and DXF dieline, PNG and JPG mockup images, fold and turntable videos, GLB 3D model
- Good for
- incense sticks, pooja, dhoop
- Accuracy
- Geometry checked by automated tests.
Agarbatti box: what to know
Agarbatti boxes are long, narrow cartons for incense sticks, sold in homes, temples and pooja stores. The box keeps the sticks straight and holds in the fragrance.
- Measure the stick length and the bundle thickness for your count. The height of the box follows the stick length.
- An inner wrap or a coated board helps keep the fragrance in and the box clean.
- A straight tuck end opens at the top so sticks can be taken out one at a time.
- Packaged goods sold in India must show certain details. Check the current Legal Metrology (Packaged Commodities) rules.
Parts of a straight tuck end box
A straight tuck end box has both the top and bottom tuck flaps hinged from the back panel, so they fold the same way. The front panel has no flap edges cutting into it at either end, which makes it a clean, uninterrupted face for a full design or a window. It is common for food cartons, tea, soap, candles and agarbatti, where the box is often opened from the top and stood on a shelf.
- Front panel
- The display face. With both tucks on the back, the artwork can run edge to edge at top and bottom.
- Back panel
- Carries both tuck flaps. Good for ingredients, directions and the barcode.
- Side panels and glue flap
- The narrow faces, with the glue flap joining the last panel to the first.
- Top and bottom tuck flaps
- Both hinge from the back and tuck in towards the front. A slit lock holds each by friction.
- Dust flaps
- Fold in from the side panels under each tuck and keep the ends square.
How to size it
- Measure the product or the inner pack: length, width, height.
- Add 1 to 2 mm on length and width and 2 to 3 mm on height for an easy fit.
- Enter Inside sizes in the studio; the outside size is shown under the fields.
- For tall, narrow boxes such as agarbatti, check that the tuck flap is deep enough to stay closed. Ask the printer to confirm it for your board.
| For | Size (L x W x H) |
|---|---|
| Tea bags (check the count against your own bags) | 70 x 70 x 125 mm |
| Bar soap | 95 x 35 x 65 mm |
| Jar candle | 90 x 90 x 110 mm |
| Agarbatti sticks | 50 x 25 x 260 mm |
Materials and finishes
- Duplex board, 250 to 350 gsm
- Everyday retail cartons. Good print surface at a sensible cost.
- FBB or SBS board, 250 to 400 gsm
- Brighter white and cleaner creases for premium boxes.
- Kraft board
- Natural look for soap, tea and handmade goods. Plan for darker, less vivid colours.
Finishes
- Aqueous or UV varnish
- Basic protection for shelf cartons.
- Matte lamination
- A soft, premium feel and better scuff resistance.
- Window with clear film
- Shows the product. The studio offers rectangle, oval and arch windows on this template.
Mistakes to avoid
- Placing a window too close to a crease or the panel edge. Leave a clear margin so the board around it stays strong.
- Designing the top and bottom of the front panel as if a flap covered them. On a straight tuck the front is fully visible, so finish the artwork to the edge with bleed.
- Forgetting the inside of the tuck flaps shows when the box is opened. Leave them plain or print them on purpose.
- Coating over the glue flap, which weakens the glued seam.
How to make it in the studio
- Open it. Press Customise this agarbatti box. It opens in the 3D studio at 50 x 25 x 260 mm.
- Set the size. In the Size panel, choose whether you are entering the Inside or Outside size, then type your measurements. The other one is shown underneath.
- Add your design. In the Design panel, upload your logo or artwork: it goes on the front first. Pick other faces to add colours, text or images to each.
- Check it in 3D. Turn the pack around, and use the Flat to Closed slider to watch it fold. Switch to the Dieline view to see the artwork on the dieline.
- Download. The Download panel gives you the PDF dieline to send your printer first, then mockup images for your store or social posts.
- Get it made. If you want a quote, send the design to packitmama from the Download panel, and we will reply personally.
Questions
Why choose straight tuck over reverse tuck?
Mainly for the front panel: it stays clean at both ends, which suits a window or an edge-to-edge design. On some packing lines straight tuck is also easier to close.
Can it hold something heavy?
Tuck bottoms are fine for light products. For heavier jars or bottles, a snap-lock or auto-lock bottom carries the weight better.
How do I put different artwork on each face?
In the Design panel, choose a face (Front, Back, Left...) and add a colour, image or text to just that face.