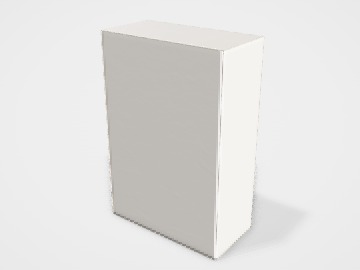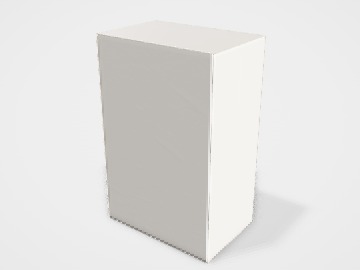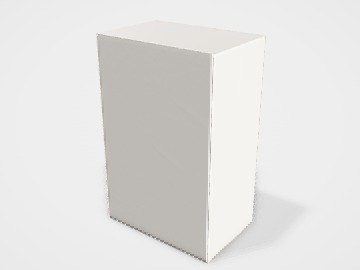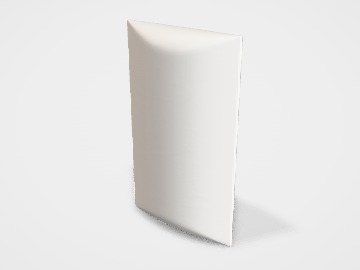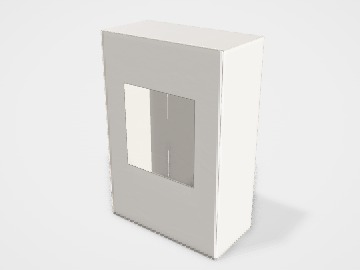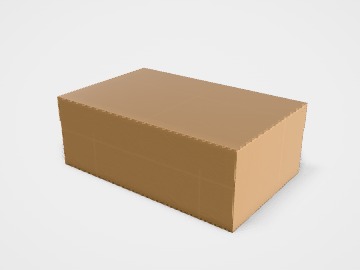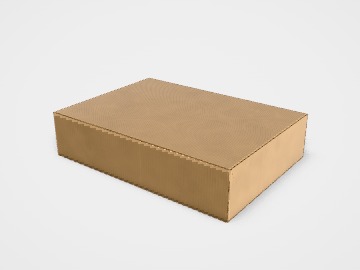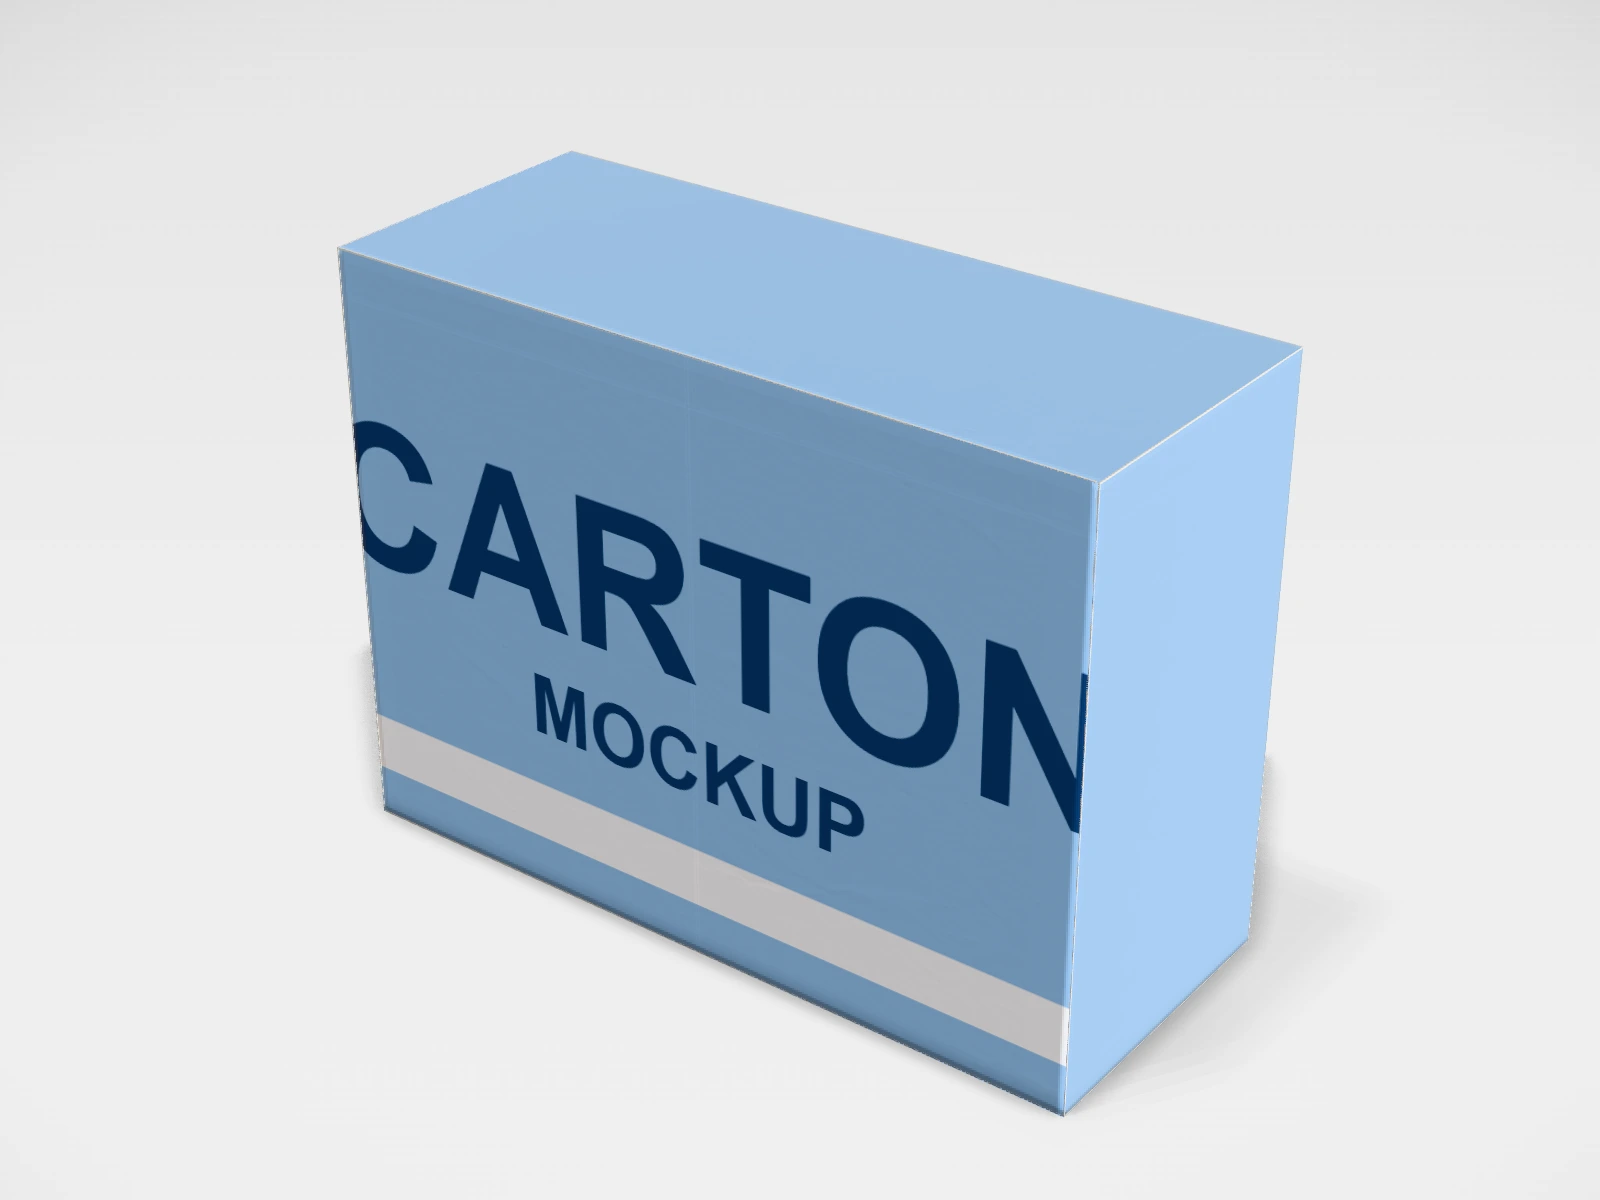
Electronics carton (lock bottom) mockup and dieline
A snap-lock bottom carton at 200 x 80 x 150 mm in white paperboard. Change any size, put your artwork on it, see it in 3D and download a print-ready dieline. Free, in your browser, no account needed.
The flat dieline
What you get
- Structure
- Snap-lock bottom carton
- Starting size
- Length 200 mm, Width 80 mm, Height 150 mm. Every size can be changed.
- Material
- White paperboard
- Downloads
- PDF, SVG and DXF dieline, PNG and JPG mockup images, fold and turntable videos, GLB 3D model
- Good for
- headphones, charger, electronics
- Accuracy
- An approximation of the industry structure: good for concepts and quotes. Have your printer check flaps, glue areas and allowances before production.
Electronics carton (lock bottom): what to know
Electronics cartons hold headphones, chargers, cables and small gadgets. They need to protect the product, present it well and carry the product details and compliance marks.
- Design the insert first. The carton size follows the insert, not the bare product.
- A snap-lock bottom carries the weight of a product and accessories better than a tuck bottom.
- Many electronic products sold in India need BIS registration and markings. Check the current BIS requirements for your product category.
- Leave space on a side panel for a barcode and serial number sticker.
Parts of a snap-lock bottom carton
A snap-lock carton has a tuck top and a 1-2-3 bottom: four bottom flaps that you fold in a set order so they interlock. No extra glue is needed for the bottom, so it is simple to produce, and it carries more weight than a tuck bottom. It is folded by hand, which takes a few seconds per box, so it suits small and medium runs of heavier products such as electronics accessories, jars, bottles and boxed gifts.
- Body panels and glue flap
- Front, back and two sides, joined down one edge by the glue flap.
- Front bottom flap
- Carries a tongue that locks into the back flap.
- Side bottom flaps
- Fold in first and support the centre of the base.
- Back bottom flap
- Has a notch or slot that receives the front tongue, locking the base.
- Top tuck and dust flaps
- Close the top like a regular tuck box.
How to size it
- Measure the product, including any inner tray or foam insert.
- Add 1 to 2 mm on length and width and 2 to 3 mm on height.
- Enter Inside sizes in the studio; the outside size is shown under the fields.
- Make a sample and drop the actual product in. The lock should sit flat without bulging under the weight.
Materials and finishes
- Duplex board, 300 to 400 gsm
- Common for lock-bottom retail boxes. Heavier gsm for heavier products.
- FBB or SBS board, 300 to 400 gsm
- Premium finish and crisper locking folds.
- E-flute laminated board
- Heavier electronics and glass, where paperboard alone flexes.
Finishes
- Varnish or lamination
- Protects the print on boxes that are handled and shipped.
- Window with clear film
- The studio offers rectangle, oval or arch windows on the front panel.
Mistakes to avoid
- Using the drawn lock proportions without a sample. The tongue and notch are drawn at fixed proportions; your printer will tune them to the board.
- Printing important details on the bottom flaps, which overlap and hide parts of each other.
- Board too thin for the product, so the base sags or pops open when lifted.
- Planning a high-volume packing line around a hand-folded bottom. For large runs, compare it with an auto-lock carton.
How to make it in the studio
- Open it. Press Customise this electronics carton (lock bottom). It opens in the 3D studio at 200 x 80 x 150 mm.
- Set the size. In the Size panel, choose whether you are entering the Inside or Outside size, then type your measurements. The other one is shown underneath.
- Add your design. In the Design panel, upload your logo or artwork: it goes on the front first. Pick other faces to add colours, text or images to each.
- Check it in 3D. Turn the pack around, and use the Flat to Closed slider to watch it fold. Switch to the Dieline view to see the artwork on the dieline.
- Download. The Download panel gives you the PDF dieline to send your printer first, then mockup images for your store or social posts.
- Get it made. If you want a quote, send the design to packitmama from the Download panel, and we will reply personally.
Questions
Is a snap-lock bottom glued?
No. Only the side seam is glued by the printer. The bottom locks by folding the four flaps in order.
Why is it called 1-2-3?
Because the flaps are folded in sequence: sides first, then the back, then the front tongue locks in.