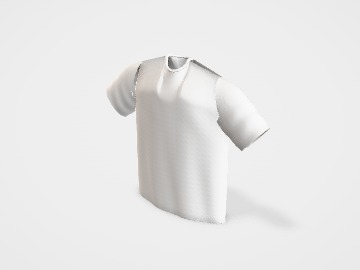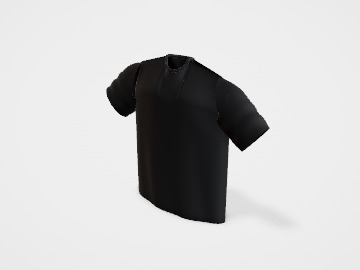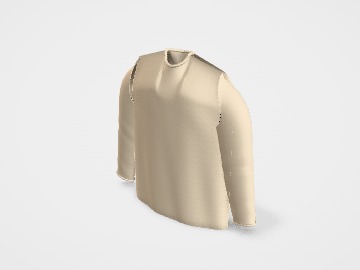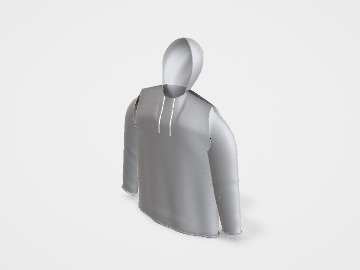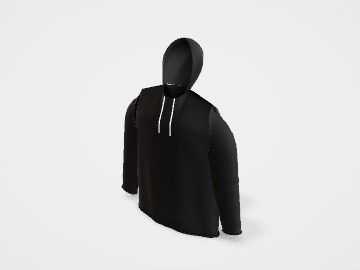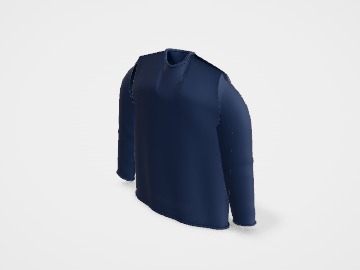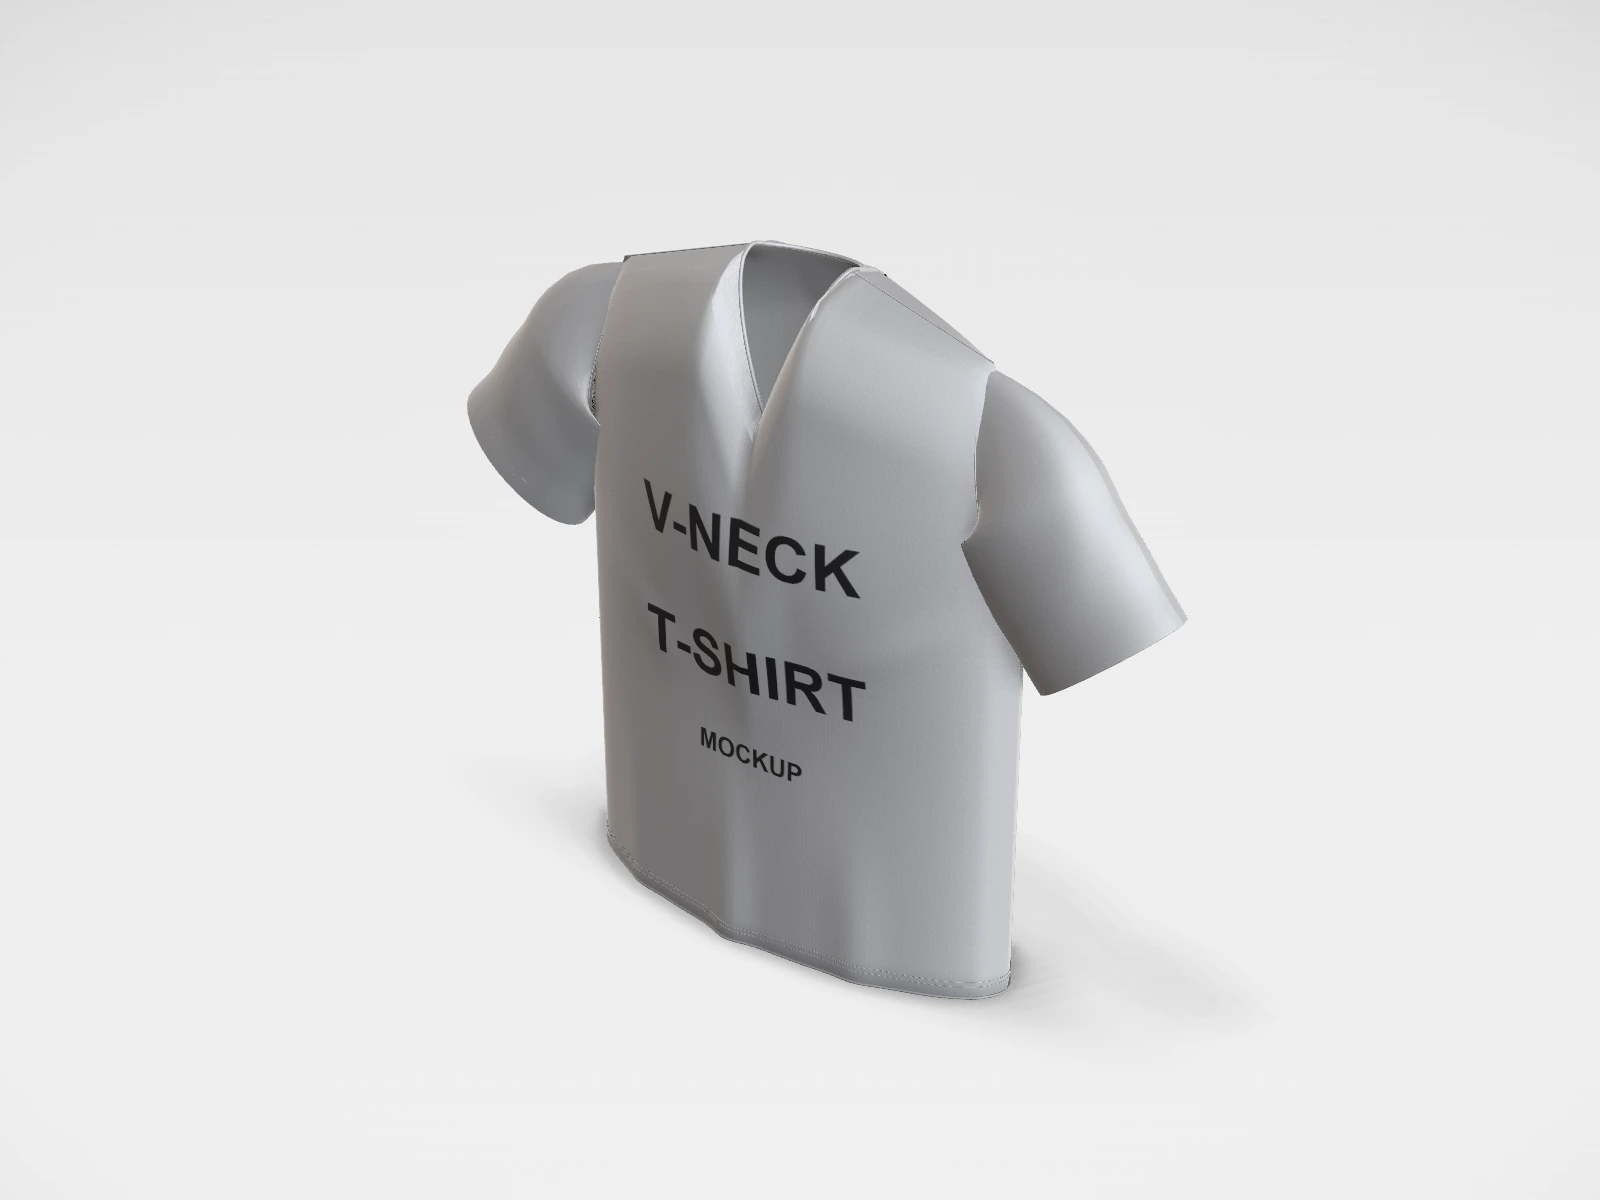
V-neck T-shirt mockup and print template
A T-shirt at 510 x 720 x 180 mm in heather grey. Change any size, put your artwork on it, see it in 3D and download a print-ready print area. Free, in your browser, no account needed.
What you get
- Structure
- T-shirt
- Starting size
- Chest width 510 mm, Body length 720 mm, Body depth 180 mm. Every size can be changed.
- Material
- Heather grey
- Downloads
- PDF and SVG print template, PNG and JPG mockup images, turntable video, GLB 3D model
- Good for
- tee
- Accuracy
- An approximation of the industry structure: good for concepts and quotes. Have your printer check flaps, glue areas and allowances before production.
Parts of a T-shirt
A printed T-shirt is the most common piece of brand merch: team wear, launch giveaways, band and creator merch, or a product line of its own. The studio shows a ghost-mannequin tee with crew or V-neck and short or long sleeves, so you can check where a print sits and how big it looks before you brief a printer. What decides the final result is the print method and the fabric, so this guide covers those as well as placement and file size.
- Front print area
- The main panel. A full front print usually starts a few centimetres below the collar; a small logo sits on the left chest.
- Back print area
- Often the biggest print on the shirt: a large graphic, a slogan, or a small logo just below the back collar.
- Sleeves
- Short or long. Sleeve prints are small (a logo or a word) and are printed separately from the body.
- Collar and neckline
- Crew neck or V-neck. The neck label area inside the back collar is often printed instead of sewn in.
- Hem
- The folded bottom edge. Small hem prints and woven tags sit just above it.
How to size it
- Pick the garment size in the studio (S to XL). The chest width shown is half the chest, measured flat from armpit to armpit.
- Decide the print size against the smallest size you will order: a 300 mm wide print that looks right on an XL can wrap into the side seams on an S.
- As a starting point, a full front print is about 250 to 300 mm wide, a left-chest logo about 75 to 100 mm wide, and the top of a front print sits about 75 to 100 mm below the collar.
- Make the artwork at the real print size at about 300 dpi, or as vector (SVG, PDF, AI) for screen printing. A 300 mm wide print at 300 dpi is about 3500 px wide.
- Upload the front and back designs to their own faces in the studio, then export PNG or JPG mockups for your store or a printer brief.
| For | Size (L x W x H) |
|---|---|
| Full front or full back | 250 to 300 mm wide, up to about 400 mm tall (many printers cap the front at about 300 x 400 mm) |
| Left chest logo | 75 to 100 mm wide |
| Back neck logo | 50 to 80 mm wide (just below the back collar) |
| Sleeve print | 50 to 80 mm wide |
Materials and finishes
- Screen printing
- Bold designs in a few flat colours, and larger runs. Each colour needs its own screen, so the setup cost is spread over the quantity. Very durable.
- DTG (direct to garment)
- Full-colour artwork and photos in small runs, on 100% cotton. Dark shirts need a white underbase and pretreatment, and colours can look a little softer than screen print.
- DTF (direct to film)
- Full colour on cotton, polyester and blends, in small or medium runs. The print is pressed on as a film, so large solid areas feel like a layer on the fabric.
- Vinyl (heat transfer)
- Names, numbers and simple one or two colour shapes cut from coloured sheets. Good for one-offs and personalised team wear; not for detailed artwork.
Finishes
- Garment weight
- Fabric is sold by weight in gsm. Around 160 to 180 gsm is a common everyday tee; 200 gsm and up feels heavier and more premium.
- Printed neck label
- Size and care details printed inside the back collar instead of a sewn tag. More comfortable, and it carries your brand.
Mistakes to avoid
- Sending a web logo. A 500 px wide file printed 300 mm wide comes out soft or pixelated. Send vector artwork or a large PNG at the print size.
- One print size for every garment size: check the design on S and XL before you sign off, or ask the printer to scale it per size.
- Too many colours for screen printing: each colour is another screen. Gradients and photos suit DTG or DTF better.
- Fine lines and tiny text: lines thinner than about 0.5 mm and text below about 6 pt can break up on fabric.
- Choosing a dark shirt for DTG without asking about white underbase: the same design looks different on black and on white.
How to make it in the studio
- Open it. Press Customise this V-neck T-shirt. It opens in the 3D studio at 510 x 720 x 180 mm.
- Set the size. In the Size panel, pick a preset or type your own measurements.
- Add your design. In the Design panel, upload your logo or artwork: it goes on the front first. Pick other faces to add colours, text or images to each.
- Check it in 3D. Turn the pack around. Switch to the flat print view to see the artwork on the print area.
- Download. The Download panel gives you the print template first, then mockup images for your store or social posts.
- Get it made. If you want a quote, send the design to packitmama from the Download panel, and we will reply personally.
Questions
Screen printing or DTG?
Screen printing for simple, bold designs in larger quantities; DTG for full-colour or photo designs and small runs on cotton. Ask your printer where their crossover point is.
Can I see the shirt on a person?
The studio shows a ghost-mannequin shape with modelled folds. It does not drape the cloth, so the folds stay the same whatever you print.
What file does a printer want?
Usually vector (SVG, PDF or AI) for screen printing, or a transparent PNG at the print size and about 300 dpi for DTG and DTF.