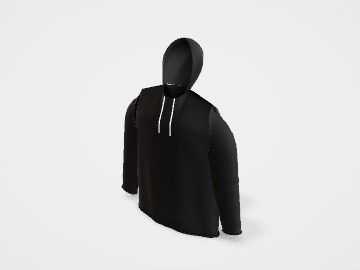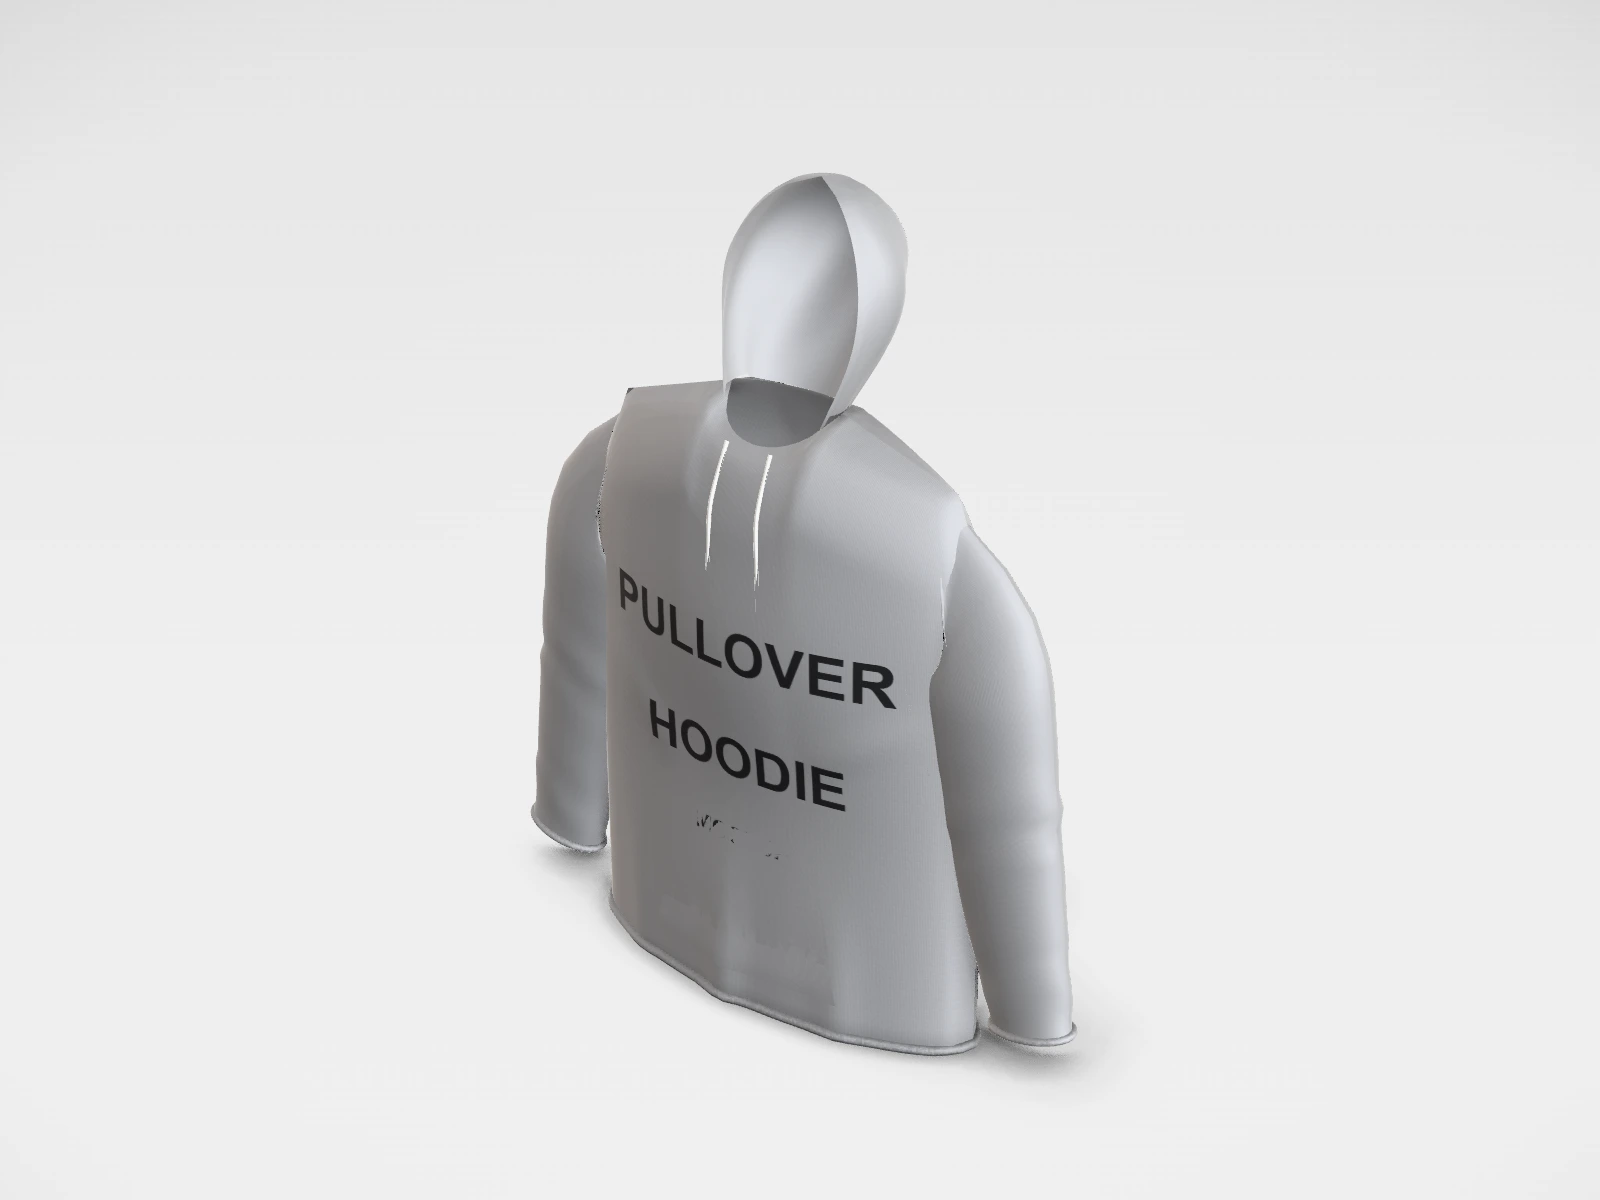
Pullover hoodie mockup and print template
A hoodie at 510 x 720 x 180 mm in heather grey. Change any size, put your artwork on it, see it in 3D and download a print-ready print area. Free, in your browser, no account needed.
What you get
- Structure
- Hoodie
- Starting size
- Chest width 510 mm, Body length 720 mm, Body depth 180 mm. Every size can be changed.
- Material
- Heather grey
- Downloads
- PDF and SVG print template, PNG and JPG mockup images, turntable video, GLB 3D model
- Good for
- hooded sweatshirt, merch
- Accuracy
- An approximation of the industry structure: good for concepts and quotes. Have your printer check flaps, glue areas and allowances before production.
Pullover hoodie: what to know
A heather grey hoodie is the safe all-rounder: it suits dark and bright prints alike, and the mottled fabric hides wear. It is a common pick for college, team and company merch.
- Heather grey is usually a cotton-polyester blend. DTF and screen print work well; ask before choosing DTG.
- Keep the front print above the kangaroo pocket. Check it on the smallest size you order.
- Mid-grey colours in your artwork blend into the fabric. Use strong contrast.
- Turn the hood off in the studio to show the same design on a crew sweatshirt.
Parts of a hoodie
A pullover hoodie is heavier, warmer merch that people keep for years, which makes it a favourite for teams, colleges, creators and streetwear brands. In the studio you can switch the hood, kangaroo pocket and drawstrings on or off (switch off the hood for a crew sweatshirt) and place artwork on the front and back. The pocket and seams limit where a print can go, so placement needs a little more care than on a tee.
- Front print area
- Between the neckline and the top of the kangaroo pocket. With the pocket on, this area is shorter than on a tee.
- Back print area
- The largest flat panel, below the hood seam. Big back prints work well on hoodies.
- Hood
- A separate piece sewn to the neckline. It can be printed, but only before it is sewn, or with a small transfer afterwards.
- Kangaroo pocket
- A patch sewn over the lower front. Printing across its edges is difficult, so most designs stay above it or sit just on it.
- Sleeves and cuffs
- Long sleeves with ribbed cuffs. Sleeve prints run down the outer arm.
- Ribbed hem
- The stretchy band at the bottom. It is not printed; tags and small labels sit just above it.
How to size it
- Pick the size in the studio. The chest width is half the chest, measured flat across the body.
- With a pocket, keep the front print about 250 to 300 mm wide and shallower than on a tee, so it ends above the pocket opening.
- A back print can be about 300 mm wide and up to about 400 mm tall on adult sizes, below the hood seam.
- Make artwork at the print size at about 300 dpi, or as vector for screen printing.
- Pocket, hood and sleeves are separate pattern pieces in the studio layout: use the full-sheet artwork if you want to show prints on them.
| For | Size (L x W x H) |
|---|---|
| Front, above the pocket | 250 to 300 mm wide, about 200 to 250 mm tall (a starting point; check against the pocket on the smallest size) |
| Full back | up to about 300 x 400 mm |
| Left chest logo | 75 to 100 mm wide |
| Sleeve print | 50 to 80 mm wide, or a long strip down the arm |
Materials and finishes
- Cotton-rich fleece
- Soft, warm, and good for DTG and screen printing. Common weights are around 280 to 400 gsm.
- Cotton-polyester blend
- Holds its shape and shrinks less. Screen printing and DTF work well; DTG is weaker as the polyester share rises.
- Screen printing or DTF
- The usual choices for hoodies: screen for bold designs in quantity, DTF for full colour in small runs.
- Embroidery
- A stitched logo on the chest looks premium on heavy fleece. Keep it small and simple: fine detail and small text do not stitch well.
Finishes
- Puff print
- A screen-print ink that rises when heated, for a raised logo. Best on simple, bold shapes.
Mistakes to avoid
- A front print that runs into the pocket opening: the press cannot lie flat over the pocket edge, and the print breaks there.
- Printing across the hood or sleeve seams: seams lift the press and leave gaps. Keep prints on flat panels.
- Assuming DTG works on any blend: high-polyester fleece prints dull and can show dye migration. Ask your printer.
- Fine detail on thick fleece: the raised fibres soften thin lines. Thicken lines and avoid very small text.
How to make it in the studio
- Open it. Press Customise this pullover hoodie. It opens in the 3D studio at 510 x 720 x 180 mm.
- Set the size. In the Size panel, pick a preset or type your own measurements.
- Add your design. In the Design panel, upload your logo or artwork: it goes on the front first. Pick other faces to add colours, text or images to each.
- Check it in 3D. Turn the pack around. Switch to the flat print view to see the artwork on the print area.
- Download. The Download panel gives you the print template first, then mockup images for your store or social posts.
- Get it made. If you want a quote, send the design to packitmama from the Download panel, and we will reply personally.
Questions
Can I make a sweatshirt with this template?
Yes. Turn the hood off and you get a crew-neck sweatshirt. You can also turn off the pocket and the drawstrings.
Should I print or embroider a hoodie logo?
Embroidery suits a small chest logo and looks premium. Large or detailed designs are better printed.
Can I print on the hood?
Usually only before the hoodie is sewn, which needs a larger order, or with a small transfer. Ask your supplier.