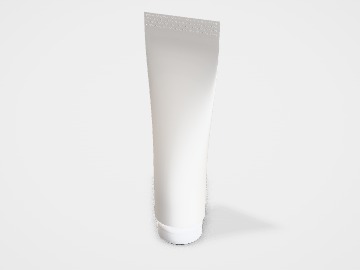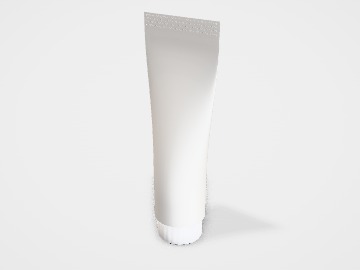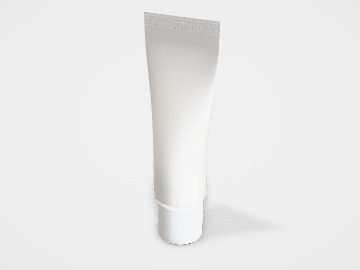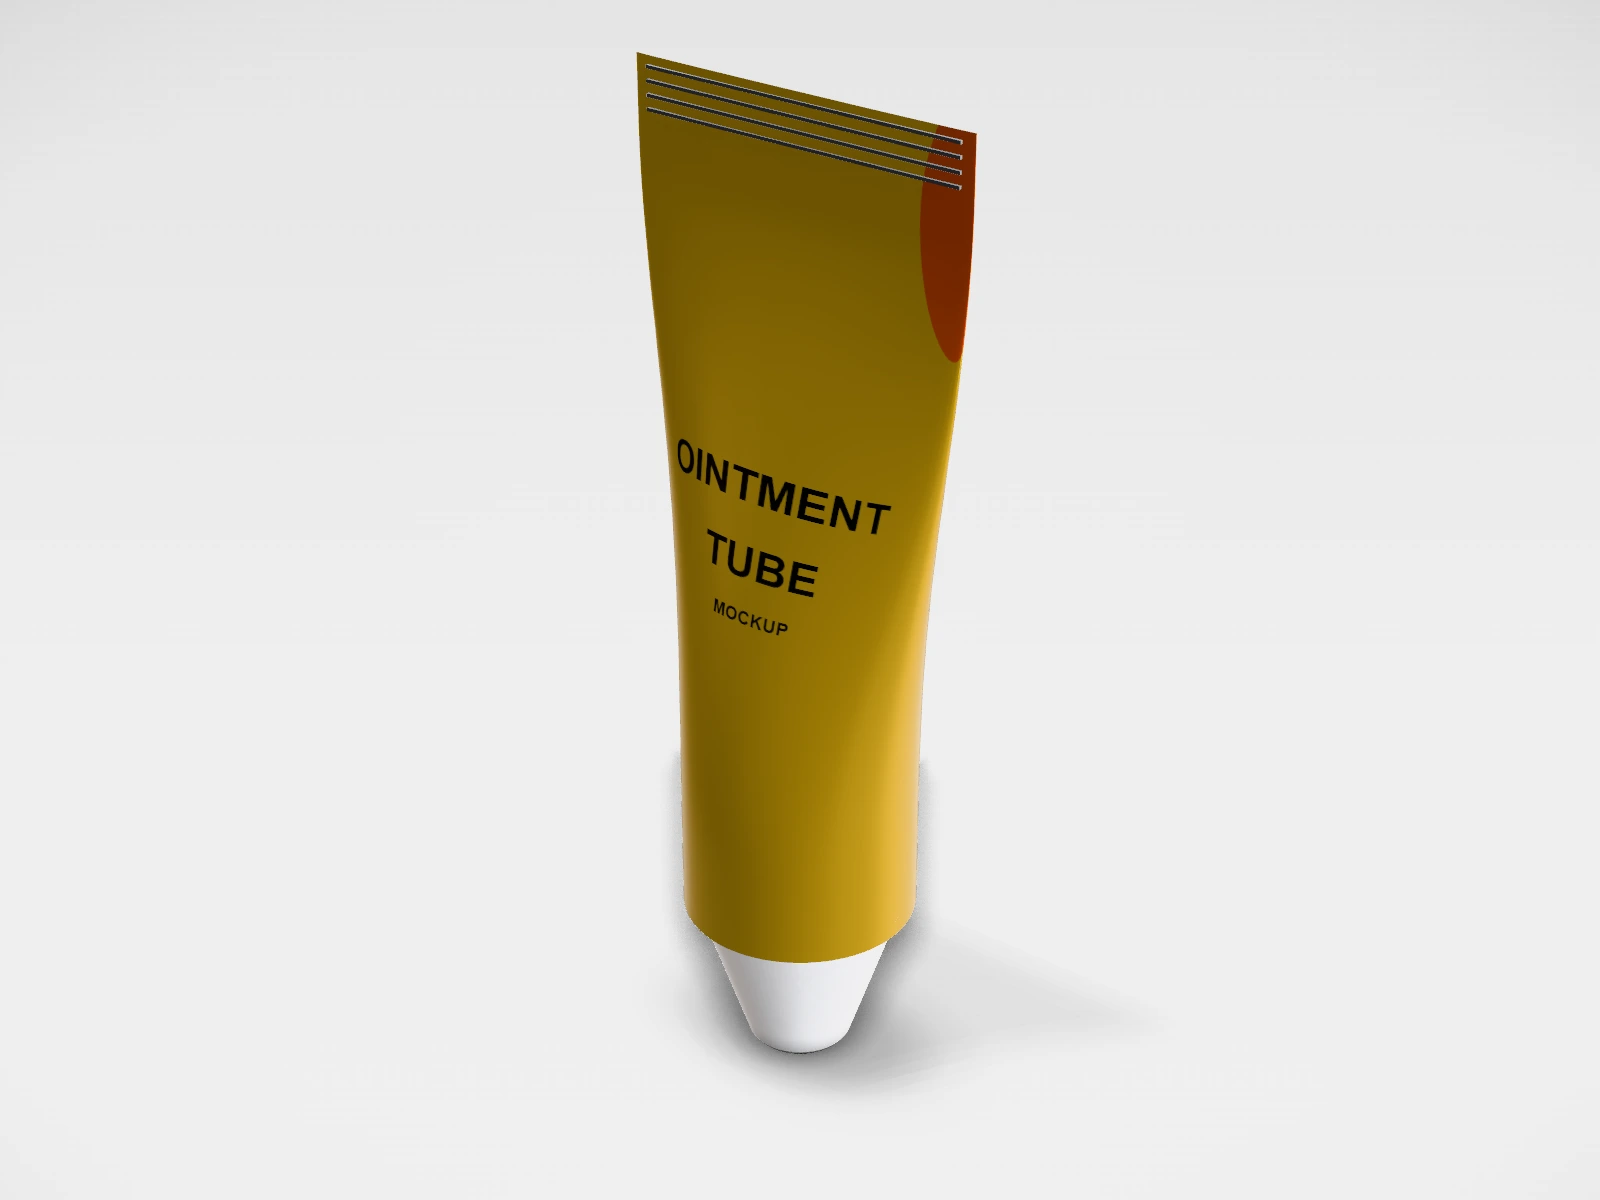
Ointment tube mockup and print template
A squeeze tube at 35 x 150 mm in metallised foil. Change any size, put your artwork on it, see it in 3D and download a print-ready label. Free, in your browser, no account needed.
What you get
- Structure
- Squeeze tube
- Starting size
- Diameter 35 mm, Height 150 mm. Every size can be changed.
- Material
- Metallised foil
- Downloads
- PDF and SVG print template, PNG and JPG mockup images, turntable video, GLB 3D model
- Good for
- pharmacy
- Accuracy
- An approximation of the industry structure: good for concepts and quotes. Have your printer check flaps, glue areas and allowances before production.
Parts of a squeeze tube
A squeeze tube is a soft, round tube with a cap at one end and a flat crimp seal at the other. It is filled through the open end, then sealed, and the user squeezes out exactly as much as they need. It is used for creams, face wash, toothpaste, ointments and gels. In the studio you choose a flip-top, screw cap, airless pump or nozzle, and design the print that wraps the body.
- Body
- The soft wall that is squeezed. The print area, all the way round.
- Shoulder
- The cone at the cap end that joins the body to the neck. Usually unprinted.
- Cap
- Flip-top, screw cap, airless pump or long nozzle in the studio.
- Crimp seal
- The flat seal at the end, often ribbed. Batch codes are usually stamped here.
How to size it
- Pick the capacity, then a stock tube diameter that holds it. Your tube maker will tell you the length for each fill.
- Enter the diameter and the full height including the cap. The body length is what is left after the cap.
- The print area is about 3.14 x the diameter around, and the body length minus the crimp.
- Keep text 8 to 10 mm away from the crimp end, where the tube flattens and the seal is pressed.
| For | Size (L x W x H) |
|---|---|
| Travel size, samples | 15 to 30 ml (about 25 mm diameter) |
| Face wash, hand cream | 50 to 100 ml (about 35 mm diameter) |
| Body lotion, family size | 150 to 200 ml (about 40 to 50 mm diameter) |
Materials and finishes
- PE tube (mono or co-extruded)
- Most cosmetics and creams. Soft, bounces back after squeezing.
- Laminate tube (aluminium or plastic barrier)
- Toothpaste and products that need a stronger barrier. Stays squeezed, like a metal tube.
Finishes
- Direct print (offset or screen)
- Printed on the tube by the tube maker. Clean, no label edge.
- Hot foil or metallic print
- A premium accent on the logo.
Mistakes to avoid
- Text too close to the crimp, where it is squashed and cut by the seal.
- Placing the key message on the side seam of a laminate tube, where the join shows.
- Choosing a cap before checking it fits the tube neck. Cap and tube come as a matched set.
- Designing for a white tube and printing on a clear or coloured one without checking how colours change.
How to make it in the studio
- Open it. Press Customise this ointment tube. It opens in the 3D studio at 35 x 150 mm.
- Set the size. In the Size panel, pick a preset or type your own measurements.
- Add your design. In the Design panel, upload your logo or artwork: it goes on the front first. Pick other faces to add colours, text or images to each.
- Check it in 3D. Turn the pack around. Switch to the flat print view to see the artwork on the label.
- Download. The Download panel gives you the print template first, then mockup images for your store or social posts.
- Get it made. If you want a quote, send the design to packitmama from the Download panel, and we will reply personally.
Questions
Why does my print look stretched at one end?
The tube flattens towards the crimp. The studio shows this; keep important artwork towards the cap end.
Can I download the print area?
Yes. The Download panel gives it as PDF, SVG or DXF, plus PNG or JPG mockups.